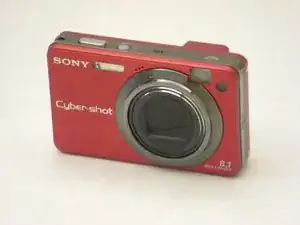
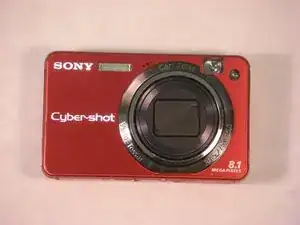
Introduction
Parts
-
-
Gently detach the back cover by holding onto both sides of the camera and pulling them apart.
-
-
-
After removing the screws, gently pop open the plastic piece, as shown by firmly pulling it with your fingers.
-
-
-
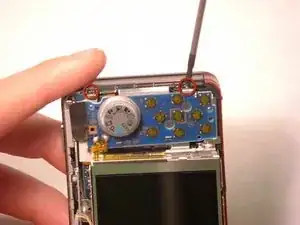
After popping open the plastic piece, there is a screw that needs to be removed.
-
Remove the screw connecting the front casing to the electrical components.
-
-
-
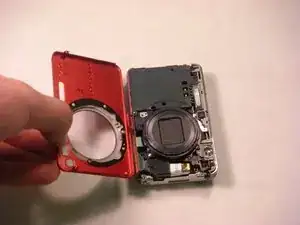
On the casing on the opposite side of the camera, gently loosen and remove the casing by firmly pulling with your fingers.
-
-
-
Remove the two screws connecting the front casing to the electrical components using a screwdriver.
-
-
-
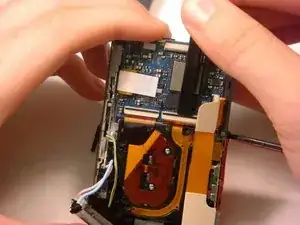
Using a spudger, wedge the flat tipped end between the black bar and the circuit board.
-
Carefully lift the black bar into the vertical position.
-
Repeat first two bullet points for the circuit board port directly to the left of the one shown in this picture.
-
Use tweezers to carefully pull the electrical ribbons from the circuit board ports.
-


To reassemble your device, follow these instructions in reverse order.