Introduction
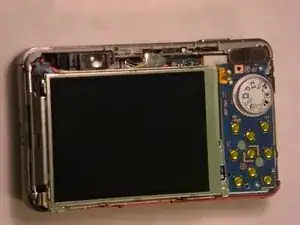
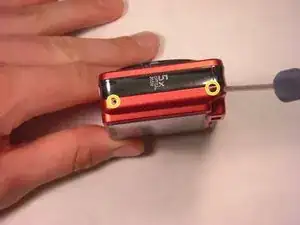
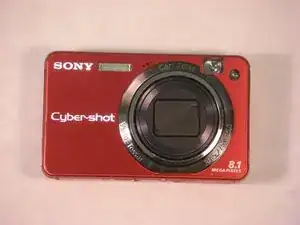
This guide will instruct you on how to replace a defective LCD screen in the Sony Cyber-shot DSC-W150. To successfully remove the screen a screwdriver is used to remove a screw, a spudger, and tweezers to remove electrical ribbons.
Tools
-
-
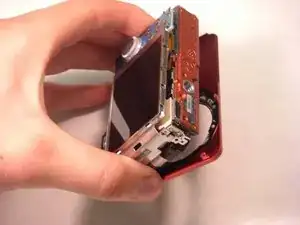
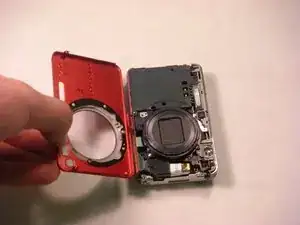
Gently detach the back cover by holding onto both sides of the camera and pulling them apart.
-
-
-
After removing the screws, gently pop open the plastic piece, as shown by firmly pulling it with your fingers.
-
-
-
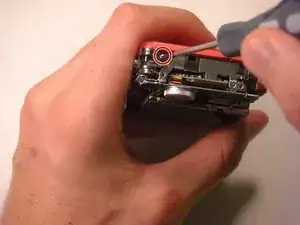
After popping open the plastic piece, there is a screw that needs to be removed.
-
Remove the screw connecting the front casing to the electrical components.
-
-
-
On the casing on the opposite side of the camera, gently loosen and remove the casing by firmly pulling with your fingers.
-
-
-
Remove the two screws connecting the front casing to the electrical components using a screwdriver.
-
-
-
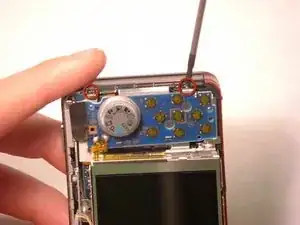
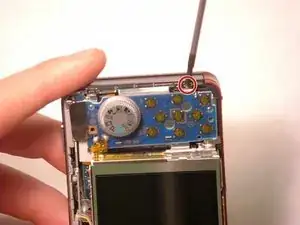
Using a screwdriver, remove the last screw holding the LCD/control panel to the rest of the camera on the right-hand side.
-
-
-
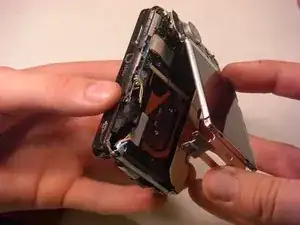
Paying careful attention to the right side's electrical wiring, gently pull the left side of the LCD plate away from the rest of the camera.
-
-
-
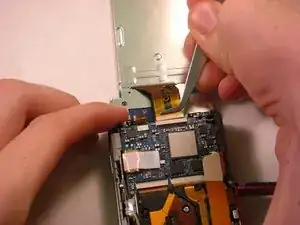
Using a spudger, wedge the flat-tipped end between the black bar and the circuit board.
-
Carefully lift the black bar into the vertical position.
-
-
-
Desolder the small electrical ribbon that connects the control panel to the LCD screen.
-
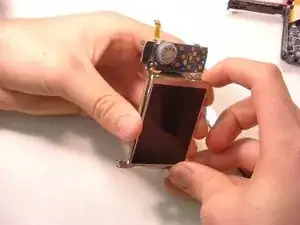
Now the LCD/control panel is completely removed from the part and ready to be replaced.
-
To reassemble your device, follow these instructions in reverse order.
