Introduction

This is just a general teardown guide for the robotic vacuum cleaner Roborock S5 Max.

  1. nQnFUJUaXtQ2PFNc
    nQnFUJUaXtQ2PFNc
    3OnnWTlTEHZyOZZc
    bf1UMhbxLD6I44jp
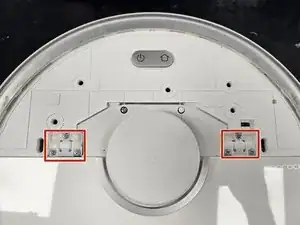
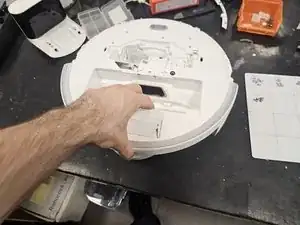
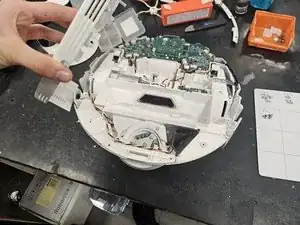
    • Remove the front half. It is only held on by latches.

    • Remove the screws and plastic tabs holding the back half in place.

    • Remove the back half.

  2. iptPpOel2K2gjbep
    iptPpOel2K2gjbep
    LVbVTfSX3vBb31NC
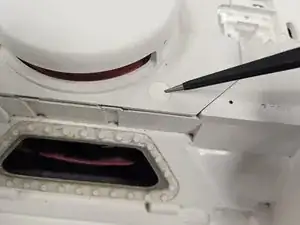
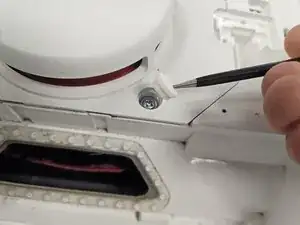
    • Remove the rubber caps.

    • There are multiple techniques to do this, but I usually just stab them with sharp tipped tweezers. You could slip them in between the housing and the rubber cap as well.

  3. vghIW2AHAdQZRSMS
    vghIW2AHAdQZRSMS
    4qYDH3iUNihtIUhy
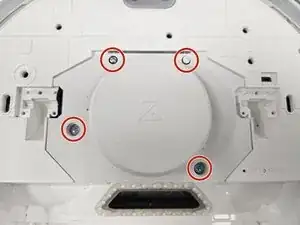
    • Remove the screws of the LiDAR cage, then the cage itself.

    • Remove the screws of the LiDAR, then the LiDAR itself.

  4. GdEyKDxWCyWZcma1
    GdEyKDxWCyWZcma1
    4oaRoSUMJrHNcEfv
    • When'd they start selling these?

  5. nfsQgRPJHejP24ii
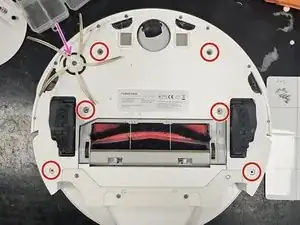
    • Remove the side brush.

    • Remove the screws.

    • Lift the bottom cover off.

  6. IXGYlEIpbnEMaItr
    IXGYlEIpbnEMaItr
    QJ5yungboKrDLrUq
    J1dGxlZmXe5gnp6S
    • Unscrew the screws.

    • Remove the lid of the bumper, then the bumper itself.

    • I usually just leave the screws inside of the bumper lid. If you do so, make sure you don't lose any.

  7. jMS1yioK14Bf41JF
    jMS1yioK14Bf41JF
    VTltJdQY1DnUs135
    tHMPFiWGrtAAmaMc
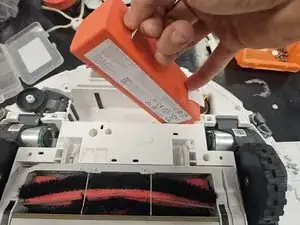
    • Grab it by the tab, then lift it out, tilting it towards the cable.

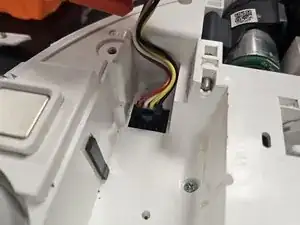
    • Once you can reach it, squeeze the connector to release it.

    • Don't tear the connector off the motherboard by yanking the battery out.

  8. LL5Lfm5bOji4itJJ
    LL5Lfm5bOji4itJJ
    sisGdoJ1rkDIGBKH
    • Remove the screws from the side brush motor.

    • Simply lift it out.

    • Remove the rest of the screws from the chassis.

  9. EVBiiDPSFvX6Tim4
    EVBiiDPSFvX6Tim4
    rSDuUt1dZunPkaAq
    dTBevdxeLtITPQYq
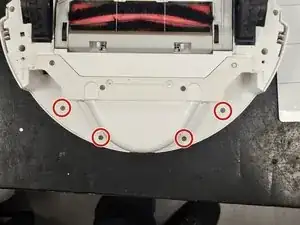
    • Remove the final 4 screws (these are non-magnetic).

    • Flip it over, then pull the chassis apart.

  10. HUyTqKw1fnynhSGJ
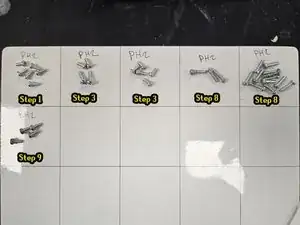
    • Here are the screws organised by steps and size.

    • Use this if needed as a reference during reassembly.

    • The screws from the bottom cover (6, large) and bumper (8, small) are missing, as I usually keep the bottom cover screws separately as they are non-magnetic, and I usually do not remove the screws from the bumper lid.

DegenFixer

Member since: 18/09/24

4249 Reputation

0 comments