Introduction
This is a teardown guide for the suction fan unit of the Roborock Dyad Pro Combo 2in1 wet&dry handheld vacuum cleaner.
This is not a teardown for the whole of the Dyad Pro Combo and will focus solely on the fan unit.
-
-
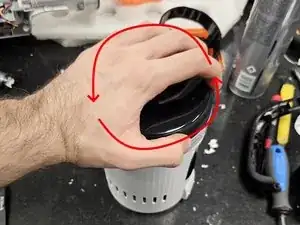
Start by grabbing the display and twisting it counter clockwise.
-
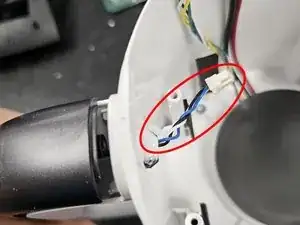
Once removing the display, remove the cable connecting it.
-
-
-
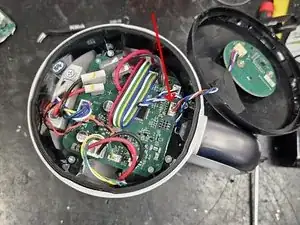
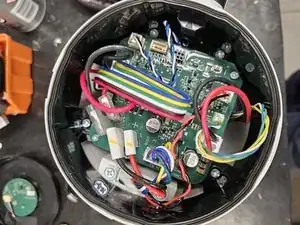
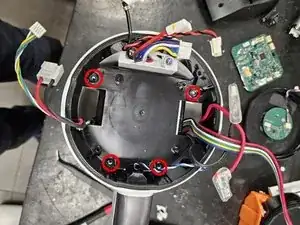
Remove all the cables from the motherboard.
-
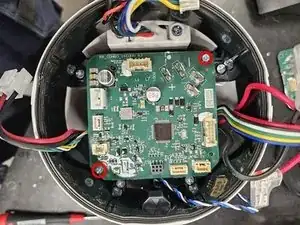
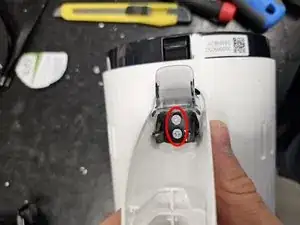
Then remove the 2 screws and take the motherboard out.
-
-
-
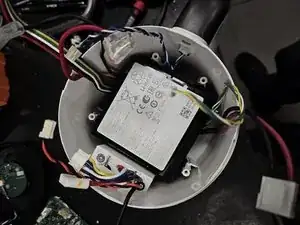
Remove the plastic housing.
-
Remove the battery. (It is not held in place by anything. Just pull it out.)
-
-
-
Remove the screw from the inside.
-
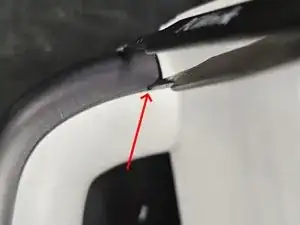
Use your hand to force a small gap between the handle and the housing.
-
Fit blunt-tipped tweezers or a small flat head screwdriver into the gap.
-
-
-
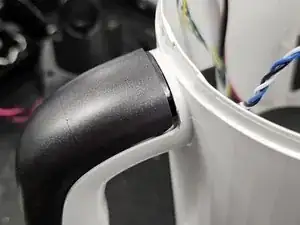
Push it upwards, until it won't re-seat by itself.
-
Push the cable as far into the handle as it will go to prevent damaging it once you get the handle apart.
-
-
-
Remove the handle by defeating the latches using a Plastic card or iFixit's Jimmy.
-
Remove the screws, then remove the black plastic retainer.
-
Remove the grey lever by pulling it off. It is latched onto the main assembly.
-
-
-
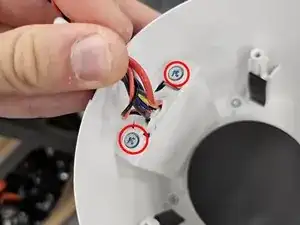
Back inside, remove the 2 screws by the bunch of cables.
-
Move to the outside and force a gap between the main housing and the electrical contacts housing.
-
Use a plastic card to get the rest of the latches to unlatch.
-
-
-
Remove the PCBA and the cable leading from the bottom.
-
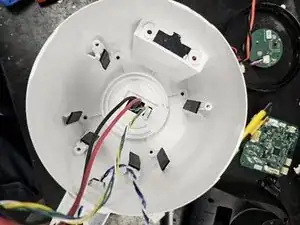
Back inside, remove the 4 screws and the black foam on the bottom.
-


clockwise or counter clockwise to open? Picture shows different then the text. EDIT: figured it out: counter clockwise.
Markus Backes -
Counter clockwise, my bad. Fixed in the guide.
DegenFixer -