Introduction
This teardown is done as to comply with task 2 IDES 2072, 2020. Photographed and written by Angelo Diaz, James Rosenberg, Jaya Yoannidis and Ewan Mackay-Cruise. Second year students of Bachelor of Industrial Design UNSW Sydney, Australia.
-
-
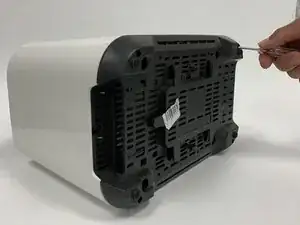
Turn the toaster to its bottom side to locate the necessary screws needed for removal.
-
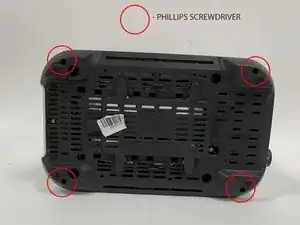
Use a phillips screwdriver to unscrew the 4 screws as shown.
-
After they're removed, seperate the bottom casing from the body in preparation for removal (see next step).
-
-
-
Once removing the screws, partially seperate the body from the white casing.
-
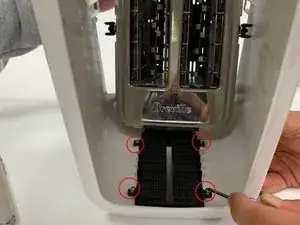
As shown, there are 4 screws that have to be removed to fully seperate the 2 parts.
-
Use a phillips screwdriver to unscrew the screws.
-
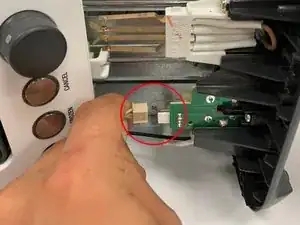
Flip the toaster on the other side and pull the highlighted wire to detach it from the bottom part.
-
You can now seperate the parts to give 2 seperate parts. (The white casing and the electrical body).
-
-
-
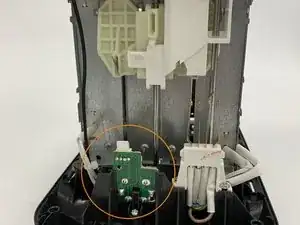
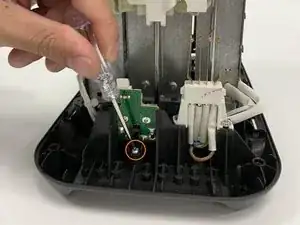
To disconnect the base of the toaster you must unscrew single screw displayed in image. This is attaching the base of the toaster to the toaster's circuit board.
-
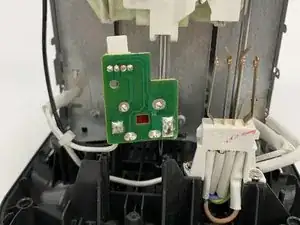
Once this screw is removed the circuit board can be detached from the base of the toaster as shown.
-
-
-
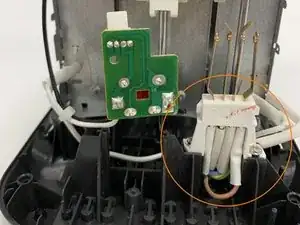
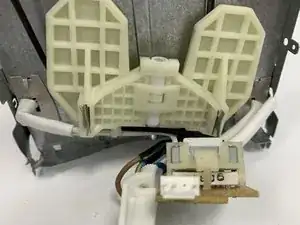
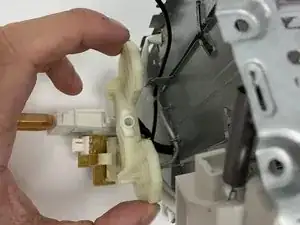
Another component connected to the base of the toaster is electricity transformer.
-
The tranformer can also be detached from the base by removing a single screw as shown.
-
Once the screw is removed the transformer is no longer attached to the base
-
-
-
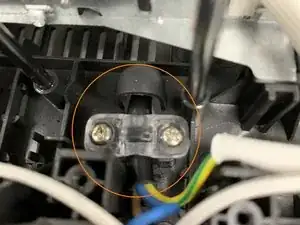
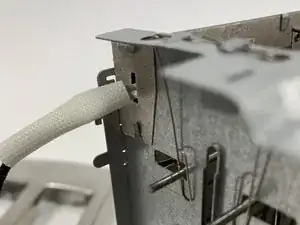
Although the plastic casing of the transformer has been detached there is still a small piece of plastic holding down the connected wires of the transformer.
-
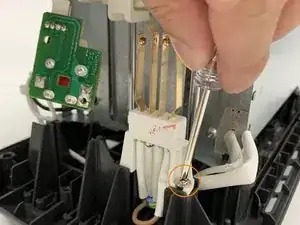
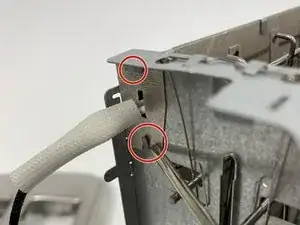
This can be removed by unscrewing both screws displayed in the images.
-
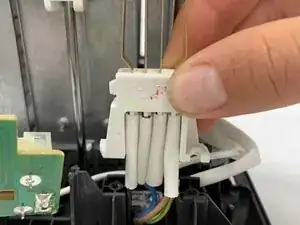
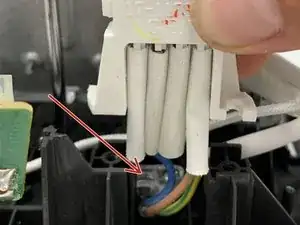
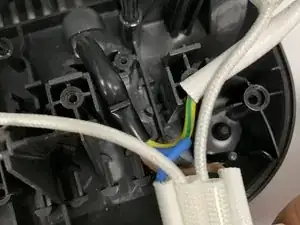
Once this piece of plastic is no longer bond by screws you are able to completely detach the transformer by pulling the wires out from inside the toaster.
-
-
-
Once the wires have been completely pulled out of the toaster the base can then be removed from the middle component.
-
-
-
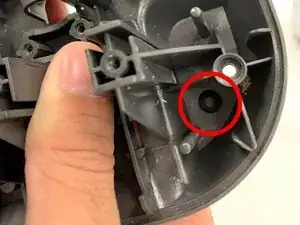
Afterwards the base had rubber feet which were easily removed by inserting a metal rod to push out the rubber material
-
-
-
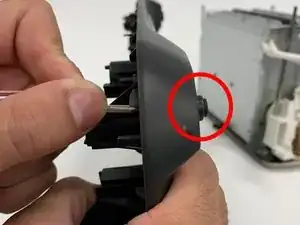
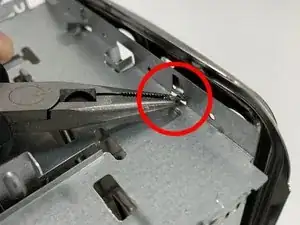
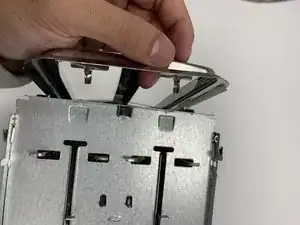
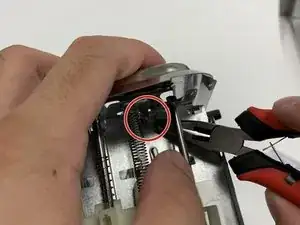
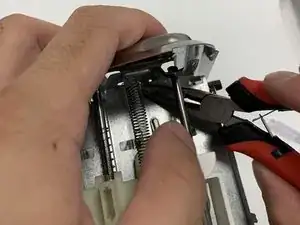
Utilising pliers to remove the top lid off of the middle component
-
The tabs had to be pulled in order to remove the top lid from the overall base of the toaster
-
-
-
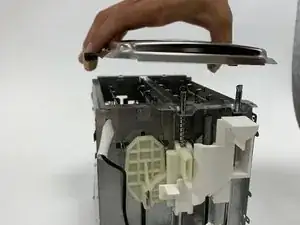
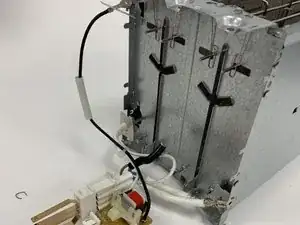
Now you can remove the two rods supporting and attaching the plastic parts and wiring on the outside.
-
These plastics parts will now easily come off, so be careful.
-
-
-
The plastic parts should easily come off, however they are still attached to wires and are soldered on. They lead into the main chassis.
-
The next step is to remove any wiring leading into the chassis.
-
Be careful not to pull too hard on the pieces as there may be wires on the inside attached.
-
-
-
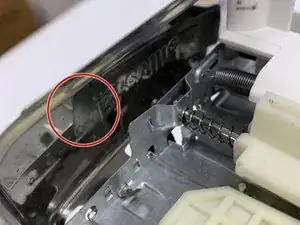
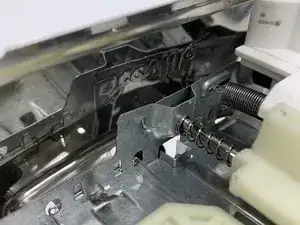
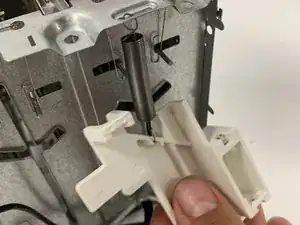
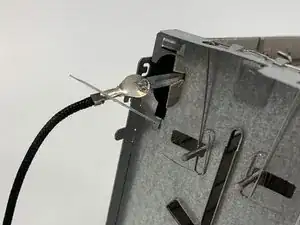
Detach the spring from the plastic part
-
Remove the last wire from the internal chassis, the latches need to be pried back in order for this to open and be removed.
-
-
-
Now that the latch is open you can remove the final wire attached to the plastic part. This concludes the teardown of removable parts within the toaster.
-
Note: Removing other remaining parts may alter the function of the toaster as they are permanently joined.
-
You have now completed the teardown.
-