Introduction
Step by step instructions on replacing your Nikon S3700 Lens
-
-
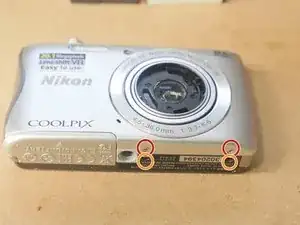
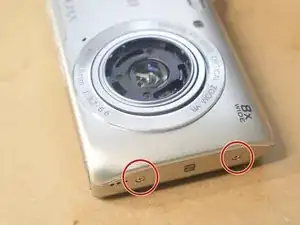
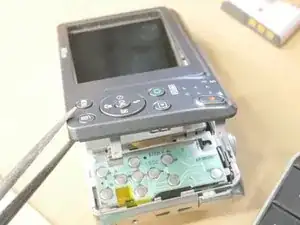
Remove Rear casing.
-
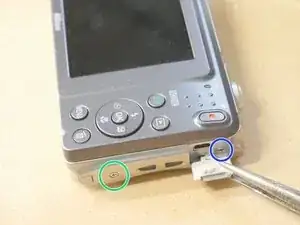
With a thin blade, gently lift the top tight hand side of the buttons board releasing a peg from a hole on the midframe below. Whilst doing so, gently push on the top left hand side in order to release the buttons board from a clip. At the same time, the bottom left hand corner wil be released from another clip.
-
Flip over rear buttons board to expose LCD ZIF clamp.
-
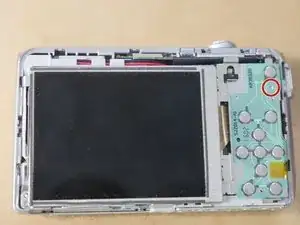
Flip open the clamp of the ZIF connector and slide the ribbon cable out. (The connector may have a piece of sticky tape over it. Removing this may well open the connector clamping bar.)
-
Remove the LCD.
-
-
-
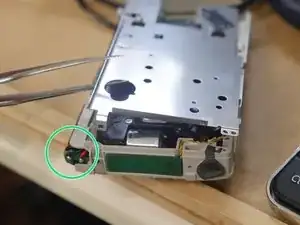
Discharge the capacitor to avoid getting shocked.
-
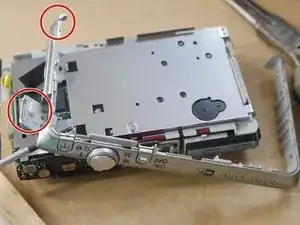
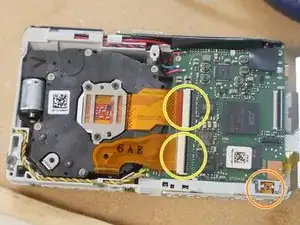
Dislodge clamps on all 4 sides and remove rear metal plate.
-
Release lens & CCD flex from ZIF sockets by gently lifting the black locking bar at the rear of the sockets. These may be a little stiff so care is needed.
-
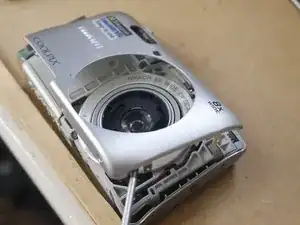
Remove lens from housing and replace. Reverse steps for re-assembly
-
Area highlighted in orange can be lost easily. Please keep your eyes on this part. If unit is tilted part will fall out.
-


To reassemble your device, follow these instructions in reverse order.