Introduction
The iHome iH3L also functions as a clock. This guide will help you replace damaged clock adjustment buttons that would be used to set the time.
Tools
-
-
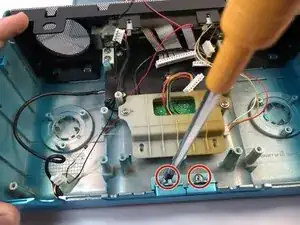
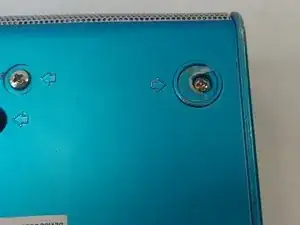
Locate all screws on the back of the iHome. Each screw can be located by the arrows on the iHome.
-
Two Countersunk 9.7 mm Phillips #2 screws in the middle.
-
Two 15.9 mm Phillips #2 screws.
-
Six 13.9 mm Phillips #2 screws.
-
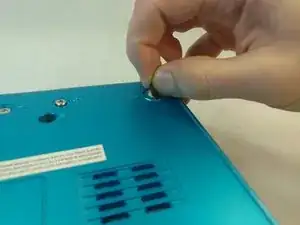
Some screws are located under the black sticky pads. Gently remove the black sticky pads and it will expose the screws.
-
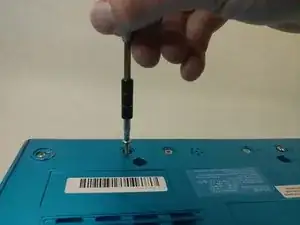
Two 11.8 mm Phillips #2 screws.
-
-
-
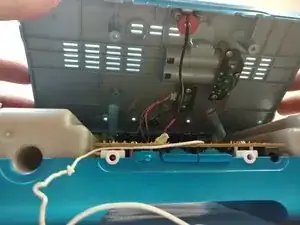
Slowly tilt the bottom cover of the iHome up.
-
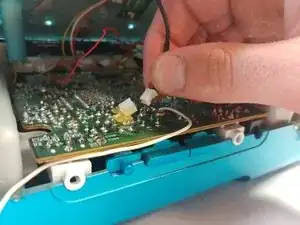
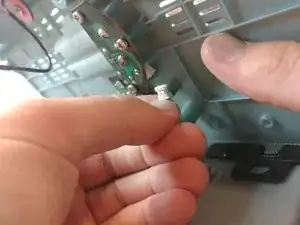
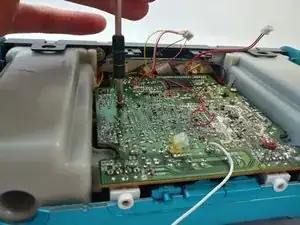
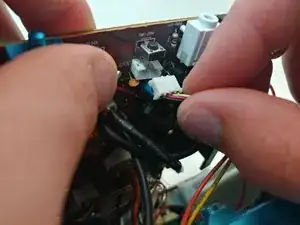
Disconnect the wire just by pulling on the connector gently.
-
-
-
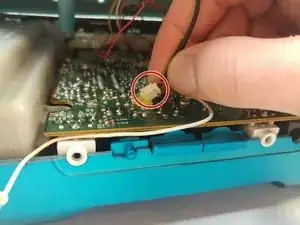
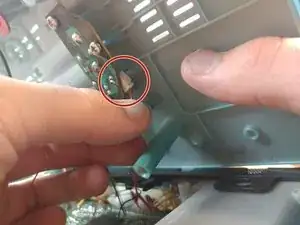
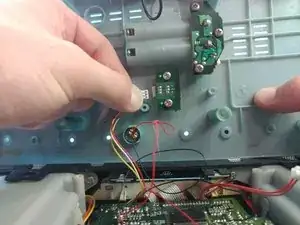
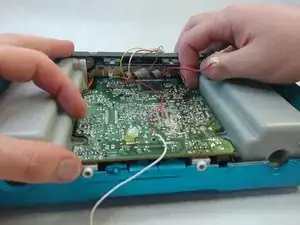
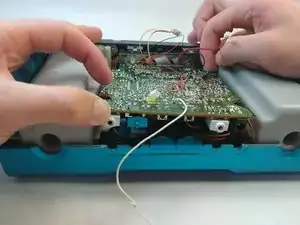
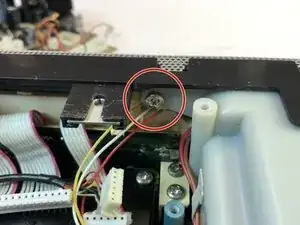
Disconnect the final connector pin series and carefully set your lid behind the body of the iHome.
-
The tiny speaker will not be disconnected for this repair, but you can easily remove it from the lid by means of a paperclip from the outside. While not necessary, this can help prevent damage to your device.
-
-
-
Remove the seven screws that are holding the motherboard in place:
-
Six 14 mm Phillips #2 screws.
-
One 14 mm Phillips #2 screw with two rubber washers on it.
-
-
-
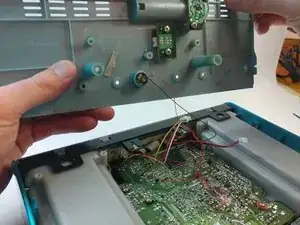
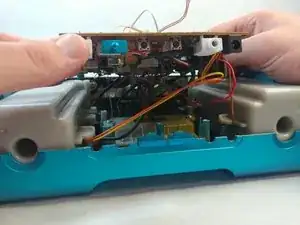
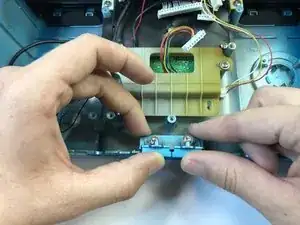
Carefully tilt the motherboard up from the front.
-
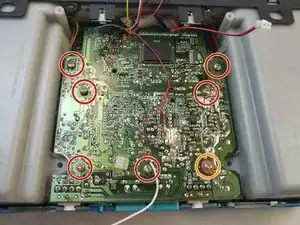
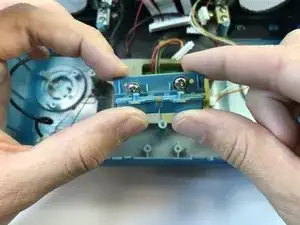
Disconnect the 8 connections by gently pulling on them. Starting from the front and work your way backwards.
-
All 8 connectors disconnected.
-
-
-
Unscrew the screws holding the speakers onto the body. One on each side:
-
Two 14.3 mm Phillips #2 screws.
-
-
-
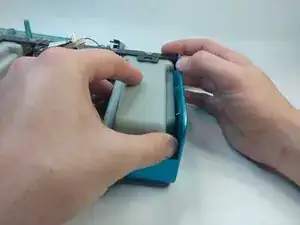
To remove the speakers from the iHome, gently lift up the back of the speaker and pull towards you. These are very secure so minor shaking may help release the speaker.
-
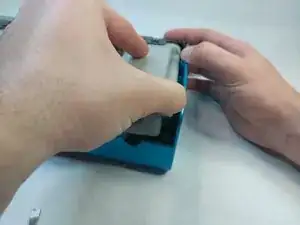
Repeat for the other side.
-
-
-
At this point the buttons should be free of obstruction and easily accessible.
-
Unscrew the two 11.9 mm Phillips #2 screws that are holding the plastic buttons onto the body.
-


To reassemble your device, follow these instructions in reverse order.