Introduction
This guide will help the user replace the individual light fixtures inside this device. You will need a screwdriver and a metal spudge.
-
-
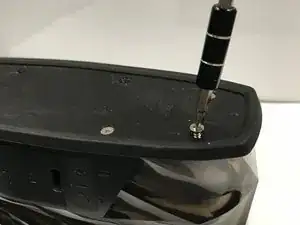
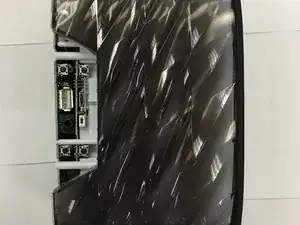
On the opposite side of the speaker should be a sticker, remove it with your fingers or the flat plastic iFIxit tool.
-
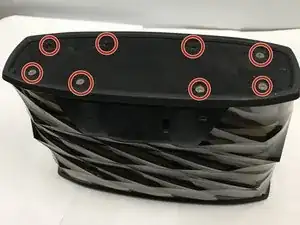
Use a Philip's screwdriver to take the screws out of the cover.
-
-
-
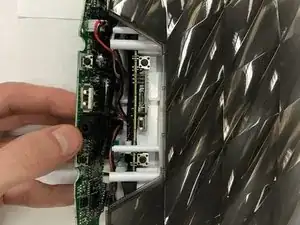
You will notice that the triangular black volume piece is loose, make sure to take that off revealing the buttons.
-
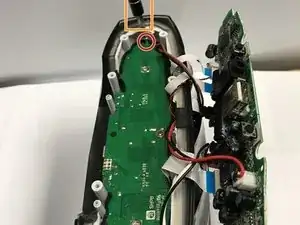
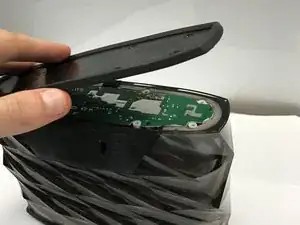
Once that is done, the motherboard can be taken out. May require some wiggling.
-
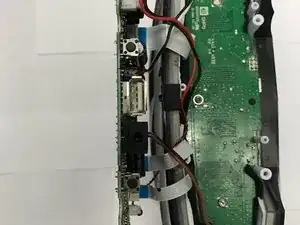
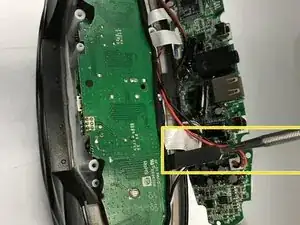
Make sure none of the wires are damaged and that they are all connected.
-
-
-
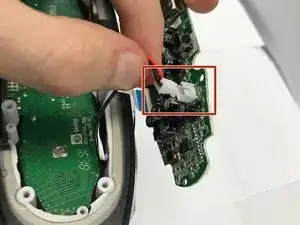
The connections shown here can be taken off by pulling on the white plastic connector piece.
-
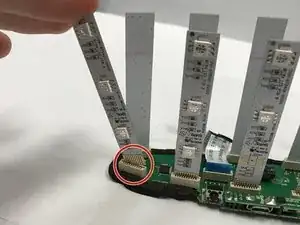
The same can be said about the white, paper like, connectors. Pull on them gently.
-
Once all connections are apart, the motherboard is safe to be replaced.
-
-
-
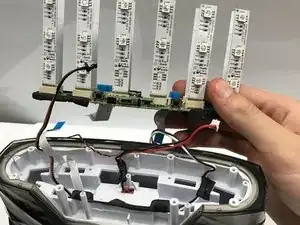
Lift the base of the light fixture out with the lights.
-
Be careful. The light fixture's can be easily bent.
-
-
-
Pull gently on the individual light fixture that needs to be replaced.
-
Place new individual LED light strip.
-


To reassemble your device, follow these instructions in reverse order.