Introduction
This guide requires soldering, a guide for which can be found here.
-
-
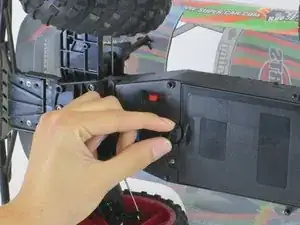
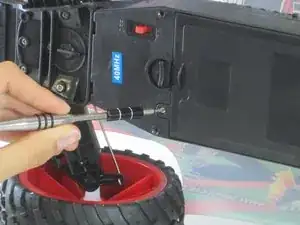
Beginning at the bottom of the truck, twist the release clip on the casing until the release clip is no longer covering the battery casing.
-
-
-
Next, use a Phillips 00 screwdriver to remove the 8mm screw on the battery casing and remove the battery casing.
-
-
-
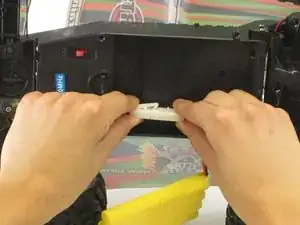
Finally, remove the battery from the white connector by squeezing the clip on the connector while pulling.
-
-
-
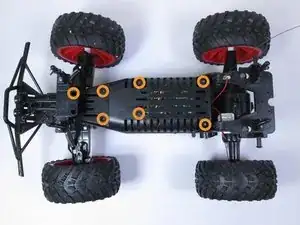
Remove the shell of the truck. Using a Phillips #1 screwdriver, remove the seven 10mm screws highlighted.
-
-
-
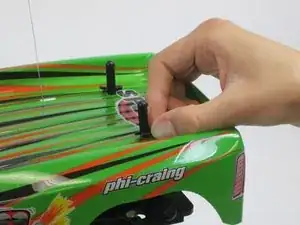
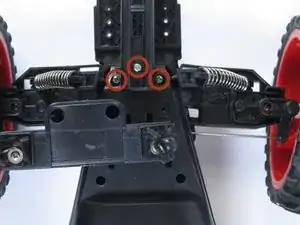
Next, rotate the part that supports the truck casing 180 degrees. Use a Phillips #1 Screwdriver to remove the three highlighted screws.
-
-
-
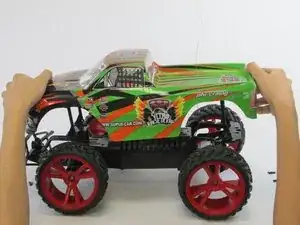
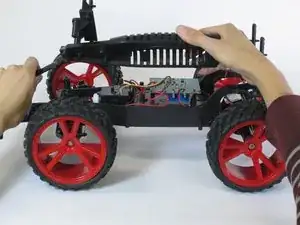
While lifting the part attaching the bumper to the shell of the truck, remove the shell by lifting it upwards and towards the back end of the truck simultaneuously.
-
-
-
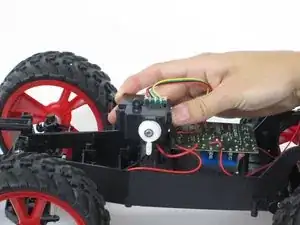
Now that the shell is removed, carefully lift the steering servo so that you can begin to detach it from the electronics of the truck.
-
-
-
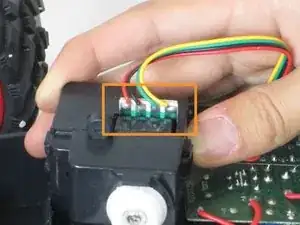
Desolder the four connections in the box shown. From the view shown and from left to right, the order is red, black, green, and yellow.
-
-
-
Again noting where each color of wire is supposed to connect, desolder these last two connections.
-


To reassemble your device, follow these instructions in reverse order.