Introduction
The following guide steps through the process of removing the power button and its components for replacement.
Tools
Parts
-
-
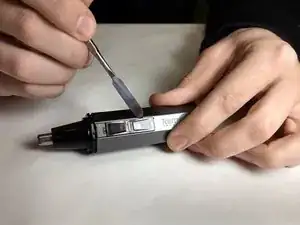
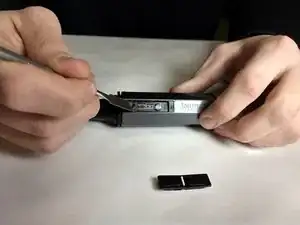
Using the metal spudger, wedge underneath the button and gently pry it out.
-
Note orientation of the switch, so that it can be replaced properly.
-
-
-
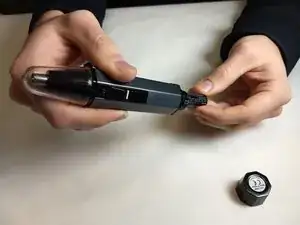
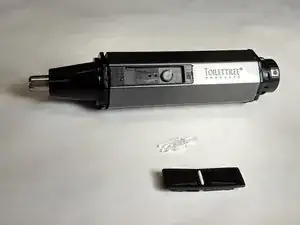
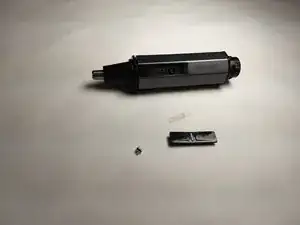
Underneath the button lies two small components. We will reference them as the o-ring assembly and clear tab. Take note of their orientation.
-
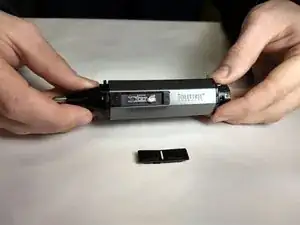
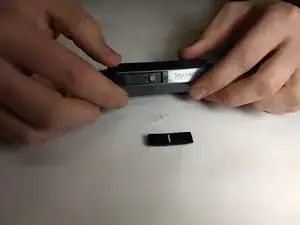
Continue disassembly by prying the clear tab upwards.
-


Conclusion
To reassemble your device, follow these instructions in reverse order.