
Introduction
In this guide, you will remove the 5 screws holding the device together. In addition, this guide details the various cables connecting the screen to the motherboard.
-
-
Begin by opening the HDMI/USB port cover on the left edge.
-
Remove the three #000 headed, 3 mm long screws located underneath the port cover.
-
-
-
Locate and open the Micro SD slot on the top side of the device.
-
Remove the two screws located beneath the cover.
-
-
-
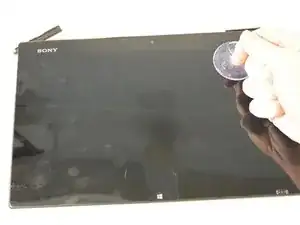
Attach the suction cup to the top right area of the screen.
-
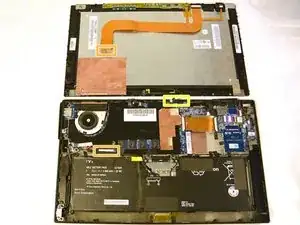
Pull to separate the screen from the rest of the device.
-
Detach the display ribbon cable.
-

Conclusion
To reassemble your device, follow these instructions in reverse order.