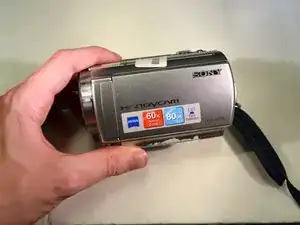
Introduction
Can't listen to recording with scratchy or without sound! Follow this speaker replacement guide to once again be able to listen those recordings.
Tools
-
-
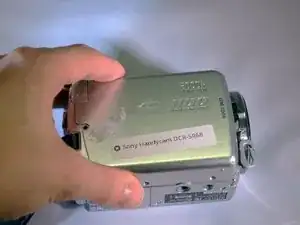
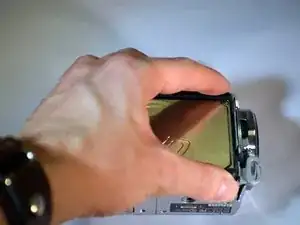
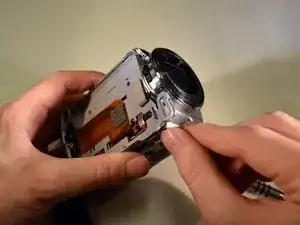
Place device on left side with lens facing right.
-
Using the screwdriver, unscrew the left middle screw.
-
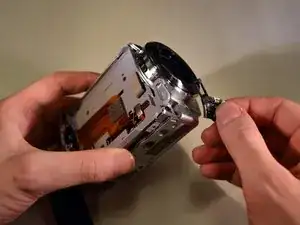
Open the "DC IN" tab.
-
Unscrew this screw.
-
-
-
Turn device onto it's top with the lens facing right.
-
Unscrew the top left and top right screws.
-
-
-
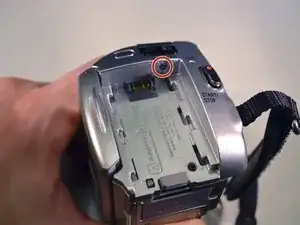
On the bottom of the device, unscrew the right and middle bottom 3mm Philips screws.
-
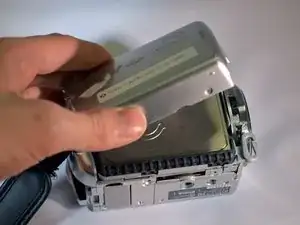
Remove panel.
-
-
-
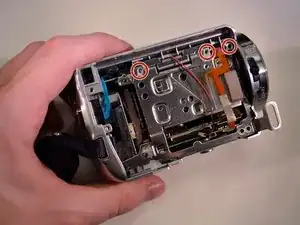
Using the screwdriver, unscrew the top two black 3mm Philips screws.
-
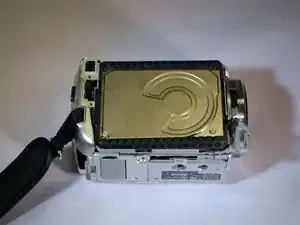
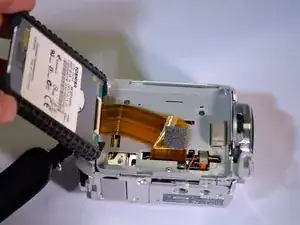
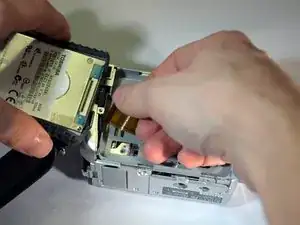
Lift out the grey tray, being careful when feeding the large ribbon wire though the slot.
-
-
-
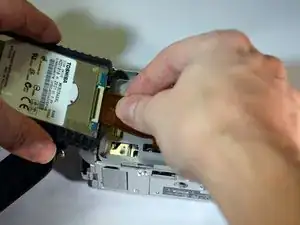
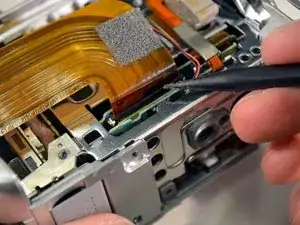
Using the black pointed spudger, carefully pop op the latch on the large ribbon wire's port.
-
Set large ribbon wire aside.
-
-
-
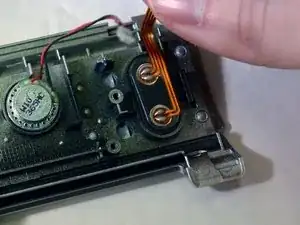
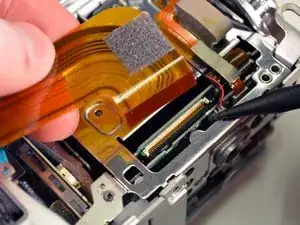
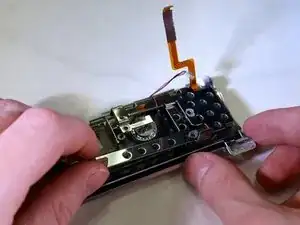
Using the blunt tweezers, unplug the red and black wires.
-
Using the blunt tweezers, unplug the small ribbon wire.
-
-
-
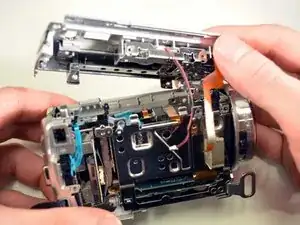
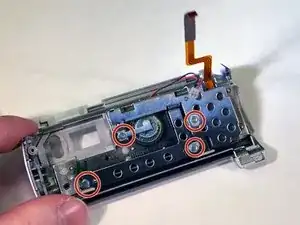
With the top of the device in hand, remove the 4 visible 3mm Philips screws.
-
Remove the frame by lifting away.
-


To reassemble your device, follow these instructions in reverse order.