Introduction
Prerequisite only
-
-
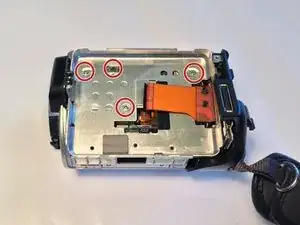
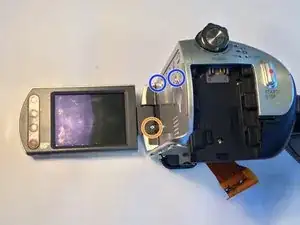
Remove the battery, and use the Phillips #00 precision screwdriver to then remove the three 3mm Phillips #00 screws under the battery.
-
-
-
Remove the three 3mm Phillips #00 screws on the side of the camera.
-
Remove the 4mm Phillips #00 screw under the AV port cover.
-
-
-
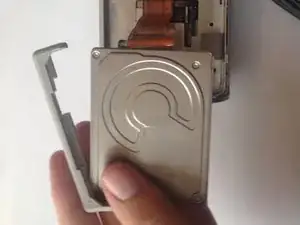
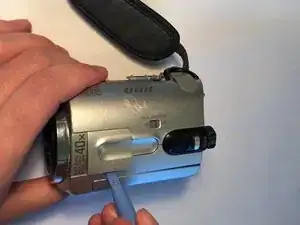
Gently pull the black plastic hard drive cover away from the body of the camera. This will expose the hard drive.
-
-
-
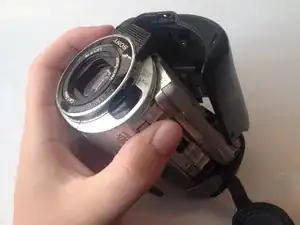
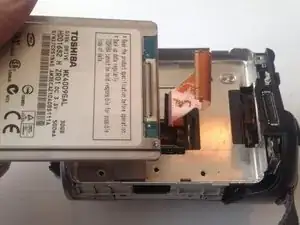
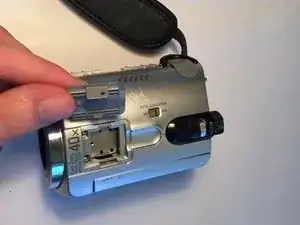
Lift the hard drive out of the camera by grasping the grey rubber mounting brackets and pulling them upwards.
-
-
-
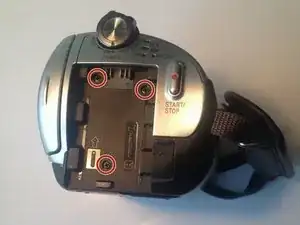
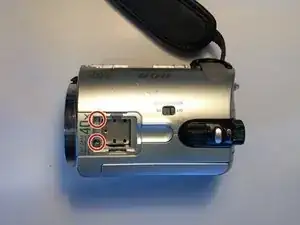
Remove the two 4mm Phillips #00 screws from the underside of the camera.
-
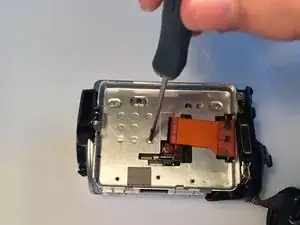
Remove the 2 mm Phillips #00 screw from the screen hinge.
-
Remove the two 6mm Philips #00 screws from the side
-
-
-
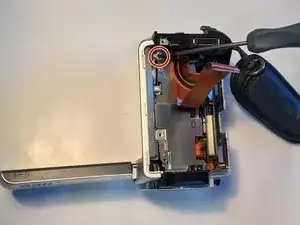
Use the plastic opening tool to remove the plastic cover from the top of the camera.
-
Remove the two 3mm Phillips #00 screws from underneath the plastic cover.
-
-
-
Remove the second plastic cover from the top of the camera.
-
Remove the 4mm Phillips #00 screw from underneath the cover.
-
-
-
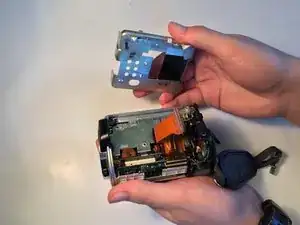
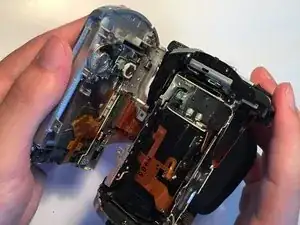
Carefully pry the screen assembly apart from the main body of the camera.
-
Unplug the flex cable from the screen assembly.
-


To reassemble your device, follow these instructions in reverse order.