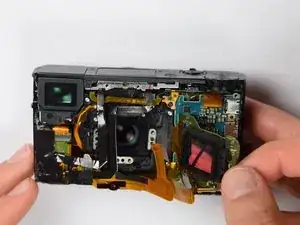
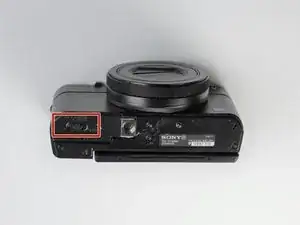
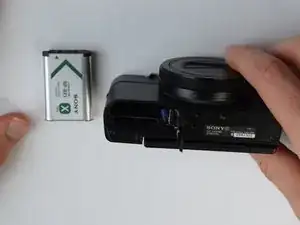
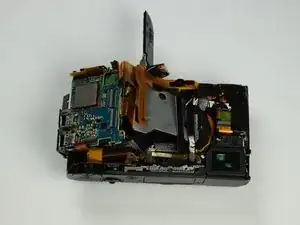
Introduction
Tools
-
-
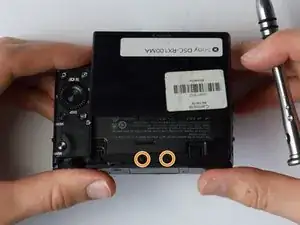
Also using the screwdriver, remove screws (black 1mm) underneath articulated LCD screen.
-
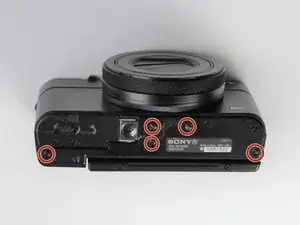
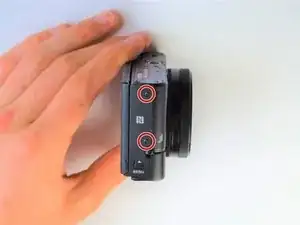
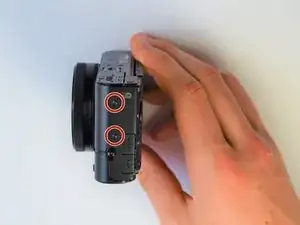
Remove the marked 2.5 mm screws with the screwdriver
-
-
-
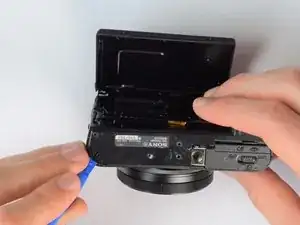
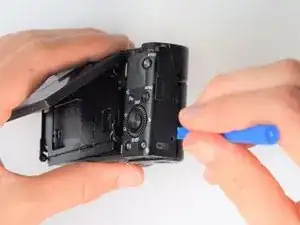
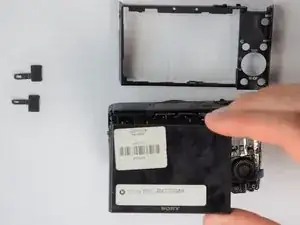
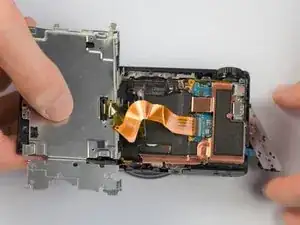
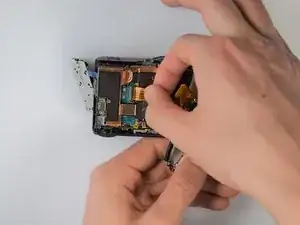
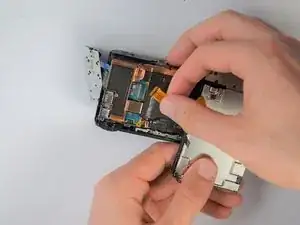
Using the same plastic opening tools, separate the screen and back assembly from the front portion of the camera
-
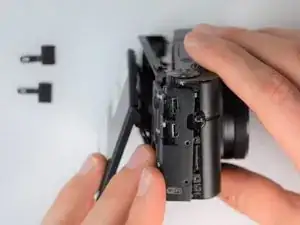
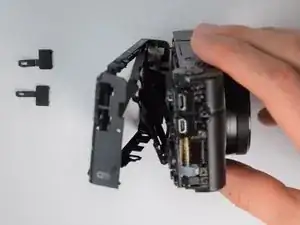
Once the back assembly is slightly detached, pull the media covers for the HDMI and Multimedia ports
-
-
-
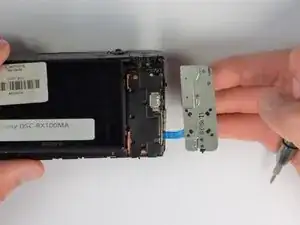
Move side panel to get access to screws
-
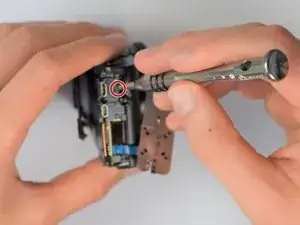
Remove two screws (black 2.5mm) with PH #0 screwdriver
-
-
-
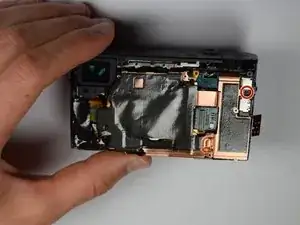
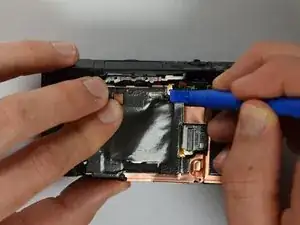
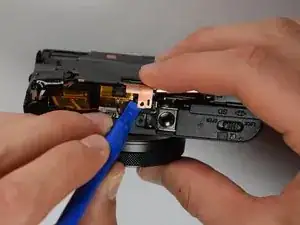
Using the plastic opening tools, carefully pry off the copper casing at the two pictured points.
-
Remove casing.
-
-
-
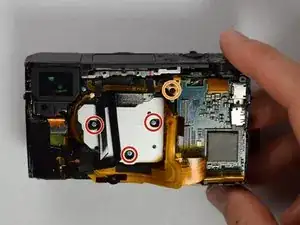
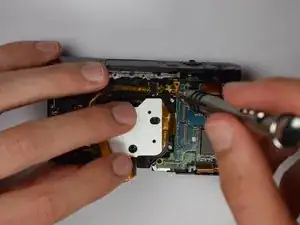
Using the Philips screwdriver, remove the three (silver 3mm) screws
-
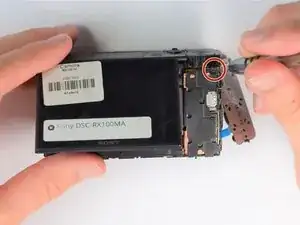
Remove the screw (silver 2mm) from the upper right hand corner
-
-
-
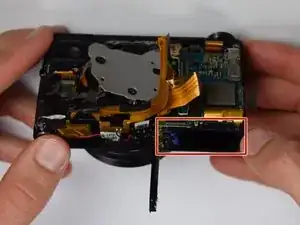
Place your finger into the battery port and push up on the SD card holder to push it out of its socket.
-
To reassemble your device, follow these instructions in reverse order.
