Introduction
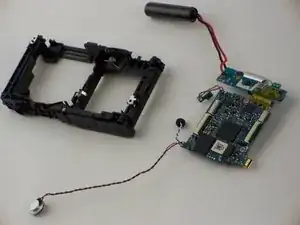
Some things to consider before you work on the Sony Cyber-shot DSC W800 to replace the Motherboard:
- The Motherboard is an integral part of the device and any improper handling can cause issues in other parts of the camera.
- Be cautious when removing ribbon wires.
- Be sure to keep track of all pieces that are taken apart.
Tools
-
-
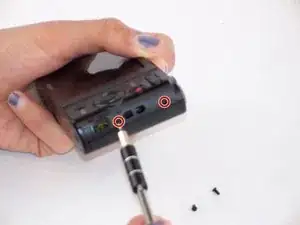
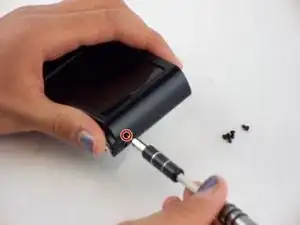
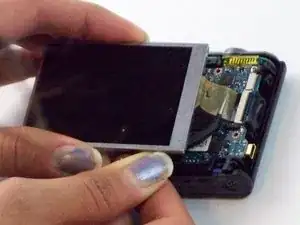
Using the Spudger, remove the back panel from the device.
-
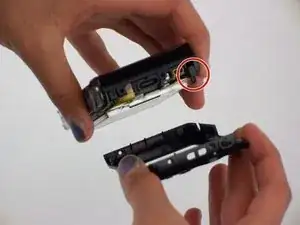
The loose piece circled in the picture will most likely fall off the camera housing.
-
-
-
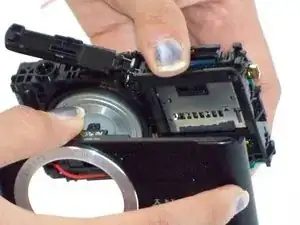
With plastic opening tool, gently pry loose the front panel.
-
Separate front panel from the camera housing.
-
-
-
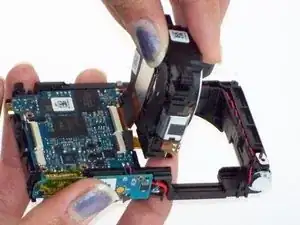
Remove the lens housing by pushing it, from the front, through the housing and lifting it out.
-
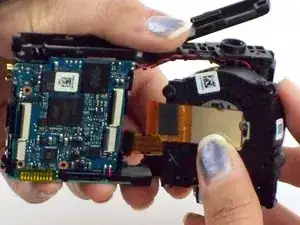
Gently pull on the large ribbon wire (connecting the Lens housing to the motherboard via ZIF connector) with the tweezers.
-
Gently pull on the small ribbon wire (connecting the Lens housing to the motherboard) with the tweezers.
-
-
-
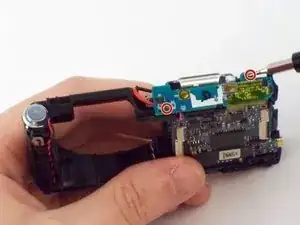
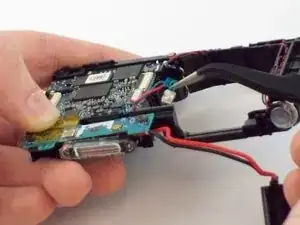
Remove the two 3.5 mm Phillips #000 screws from the secondary board that is attached to the flash bulb.
-
-
-
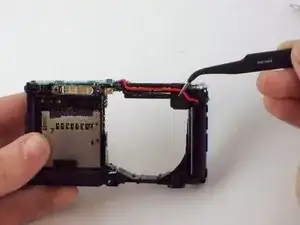
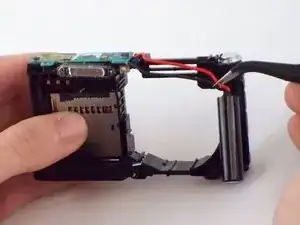
Use the tweezers. Move the thick red cable, attached to the secondary board, outside of its place in the camera housing.
-
Gently pull on the red/black wire in order to free the photo lens cylinder from the housing.
-
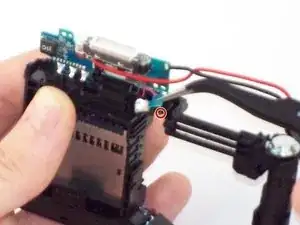
Remove the secondary board from its position and move it upward, out of the way.
-
-
-
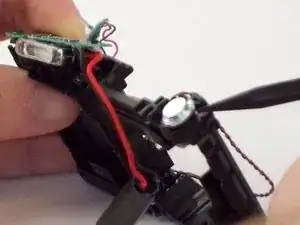
Using the tweezers, pull the indicator bulb out , freeing it from its position on the housing.
-
Thread the indicator bulb under and through the secondary boards position.
-
-
-
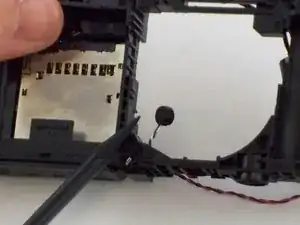
Using the tweezers, remove the black/red speaker wire from camera housing.
-
Pry loose and remove the speaker from the camera housing.
-
-
-
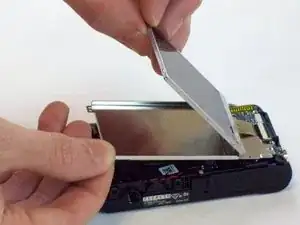
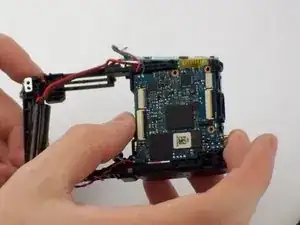
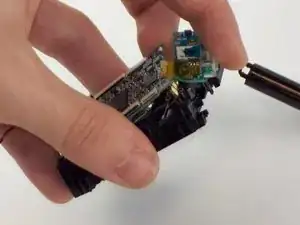
Pull up on the bottom-half of the motherboard, slightly removing it from its position in the housing.
-
With enough force, pull up on the top right of the motherboard, pulling it entirely from its position in the housing.
-
To reassemble your device, follow these instructions in reverse order.


