Introduction
Taking out the LCD is one of the more difficult things to do on your Cyber-shot. Because the LCD is located at the back of the camera you will have to take apart the entire camera just to reach it.
-
-
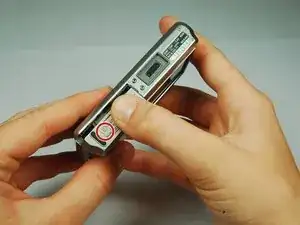
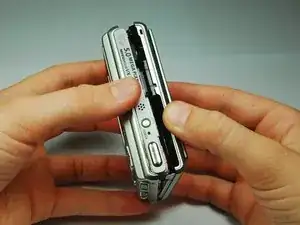
Locate the battery door at the bottom of the camera.
-
Press down on the door and slide it back. The door will pop open.
-
-
-
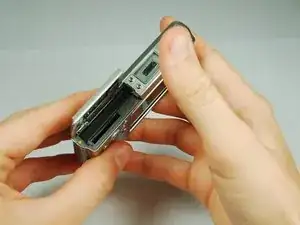
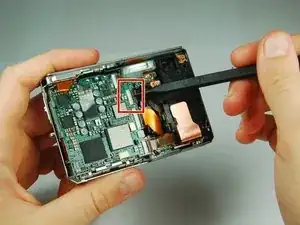
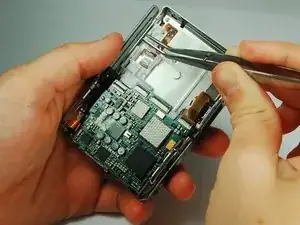
Use the tip of a spudger to flip up the tab on the ZIF connector securing the motherboard ribbon cable.
-
The second picture shows what these tabs look like in their open positions.
-
-
-
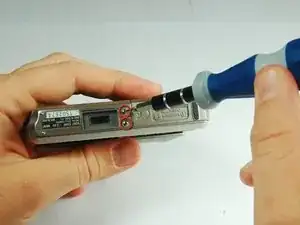
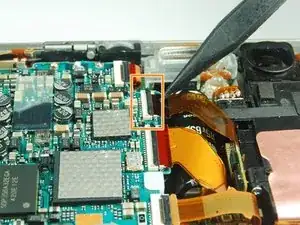
Use the tip of a spudger to flip up the tab on the ZIF connector securing the motherboard ribbon cable.
-
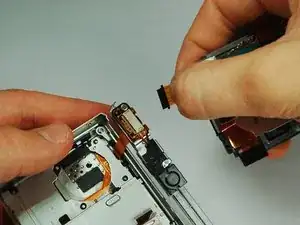
Remove the ribbon cables from these two ZIF connectors.
-
-
-
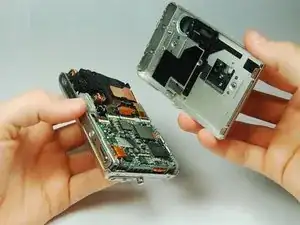
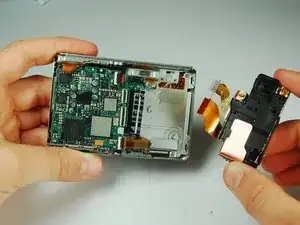
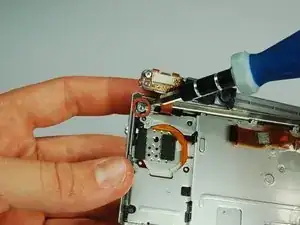
Lift the motherboard assembly up and rotate it so you can easily see where the internals connect to the back cover.
-
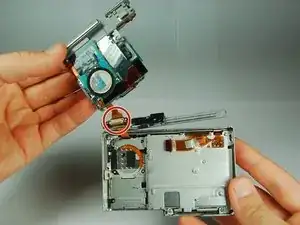
Remove the ZIF connectors from the clamp on the left end of the top piece.
-
The motherboard assembly is now separated from the back cover.
-
-
-
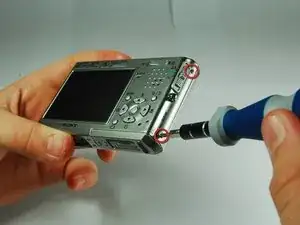
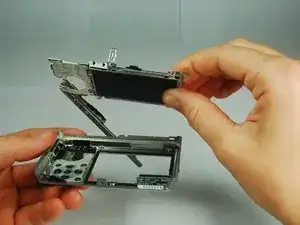
Use a PH00 screwdriver to remove the 2.9 mm phillips screw on the upper left side of the case.
-
-
-
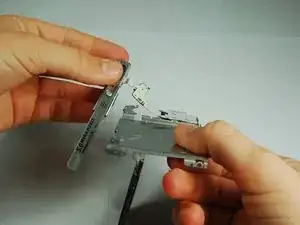
Remove the back frame from the LCD assembly.
-
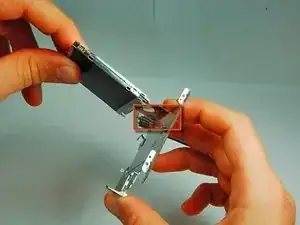
Turn the LCD assembly over and gently pull the top bar off (which has the shutter and power buttons).
-


To reassemble your device, follow these instructions in reverse order.