Introduction
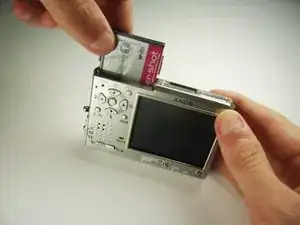
Follow this guide for the process of replacing the CCD chip, which is responsible for converting light into digital images. For safety reasons, battery should be first removed.
-
-
Locate the cover on the bottom of the camera.
-
Slide the cover towards the back of the camera.
-
-
-
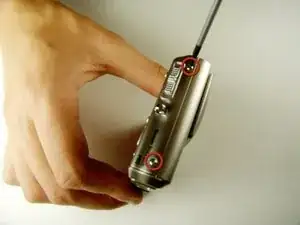
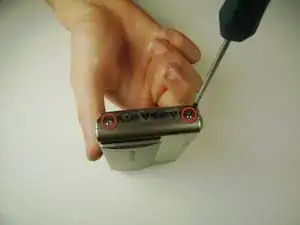
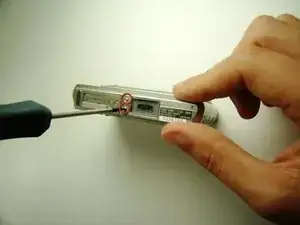
Locate and remove the 3mm screws on the bottom and sides of the camera with a JIS size #0 screwdriver.
-
-
-
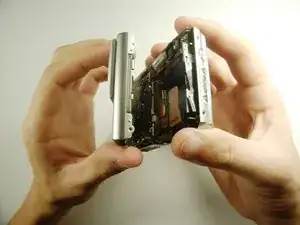
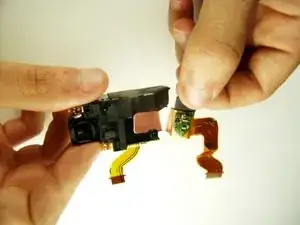
Pull the two halves of the camera apart.
-
Place the two halves down with the insides facing you.
-
-
-
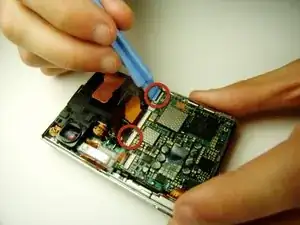
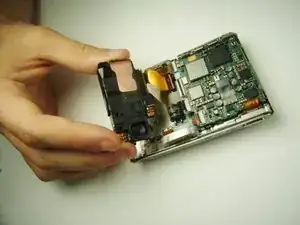
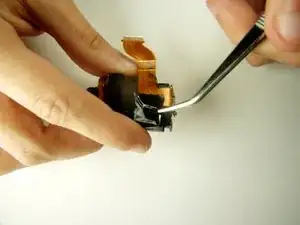
Find the two clips holding the motherboard to the black lens box.
-
Slide the plastic opening tool in between the ribbon and the black part of the clip, then flip it up. (If difficult, your fingernail can also be used)
-
-
-
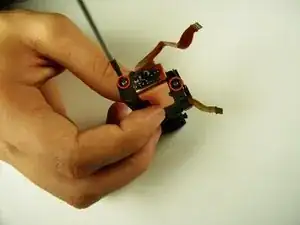
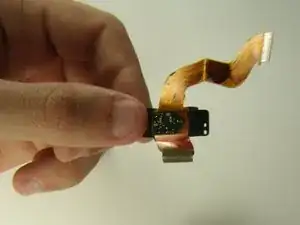
Locate and unscrew the two 3mm screws on the bottom of the black lens box with the JIS #0 screwdriver.
-

To reassemble your device, follow these instructions in reverse order.