Introduction
Here is a straight forward repair of broken LCD. The repair should take no longer than 15 minutes. Replacement LCD's are available for under USD $20.
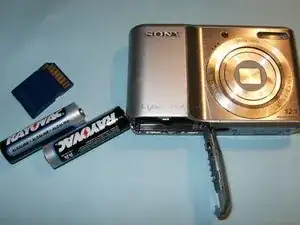
Parts
-
-
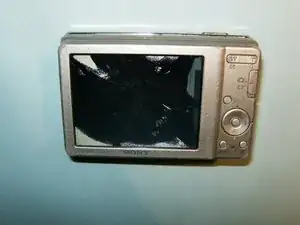
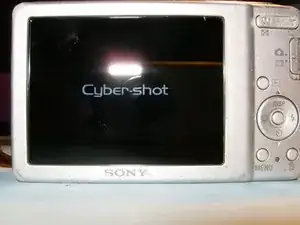
The broken LCD is immediately visible when the camera is turned on.
-
Remove the batteries and, if so equipped, the memory card.
-
Remove the three Philips screws from the bottom of the camera with a Phillips #00 Screwdriver.
-
-
-
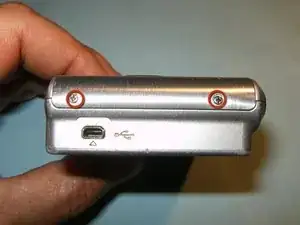
Remove the two Philips screws from the right side of the camera.
-
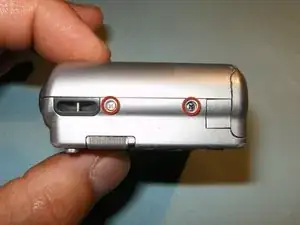
Remove the two Philips screws from the left side of the camera.
-
Split the housing by either using a plastic opening tool, or your finger nails. No excessive force is necessary. For ease of accomplishment, start at the battery compartment.
-
-
-
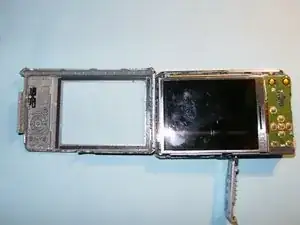
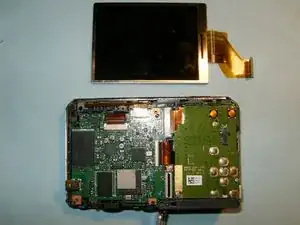
Once the rear case has been removed, the LCD and frame are easily identified.
-
Fold the LCD to the right, away from the frame.
-
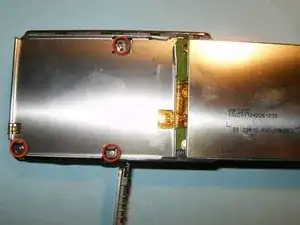
Remove the three Philips screws from the LCD frame.
-
-
-
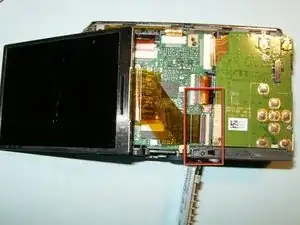
When the LCD frame is removed, the ribbon cable becomes clearly visible.
-
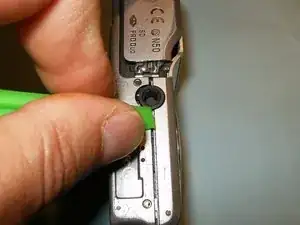
Flip the LCD to its left side. Open the clip of the connector by moving the black lock to the right.
-
Remove the LCD
-


To reassemble your device, follow these instructions in reverse order.