Introduction
Tools
-
-
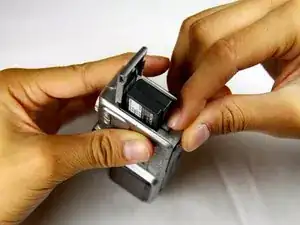
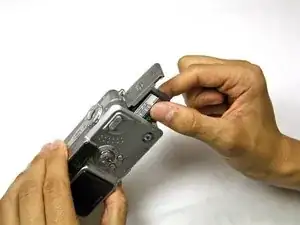
Slide the battery latch down the side of the camera with your hands.
-
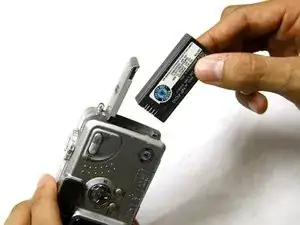
The latch will automatically pop open.
-
-
-
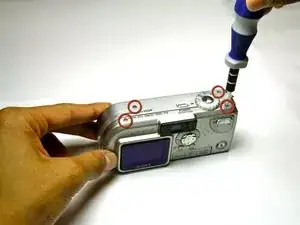
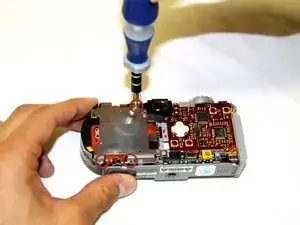
Remove the four 3.0mm Phillips #000 screws on the top of the camera with the phillips screwdriver.
-
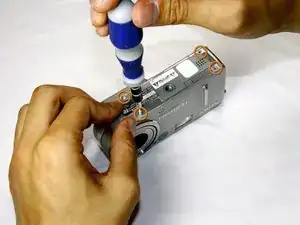
Remove the additional four 3.0mm Phillips #000 screws on the bottom of the camera.
-
-
-
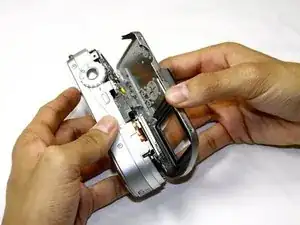
Work the back panel out from under the small grey clip.
-
Slide the back panel off of the camera by dislodging it from the remaining clips.
-
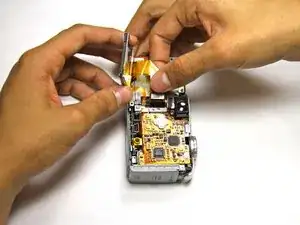
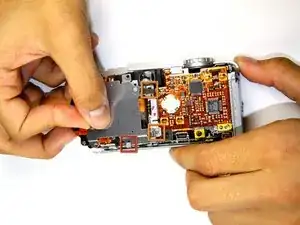
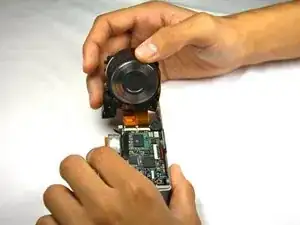
Below is a flat, orange cable connecting the lens to the motherboard.
-
-
-
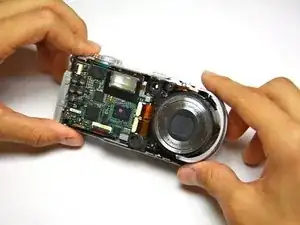
Turn the camera over so that you can see the front of the lens.
-
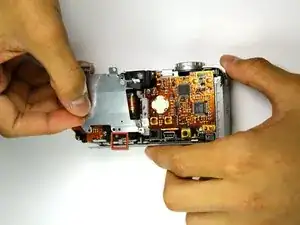
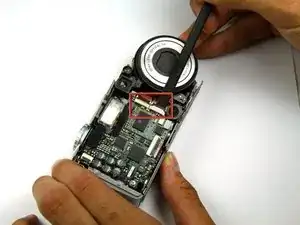
Two connectors link the lens to the motherboard.
-
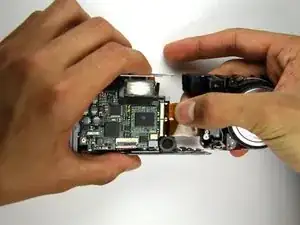
Gently bring the lens away from the camera.
-
-
-
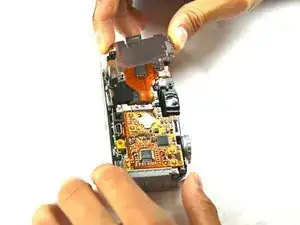
Gently pull out the cables and move the lens away from the rest of the camera.
-
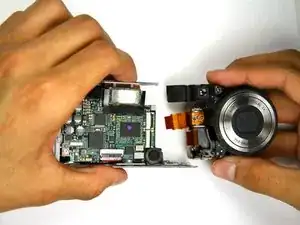
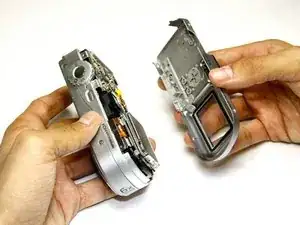
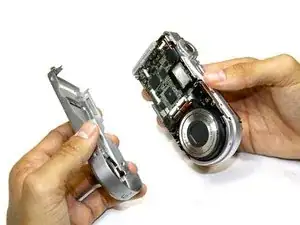
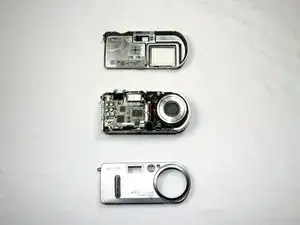
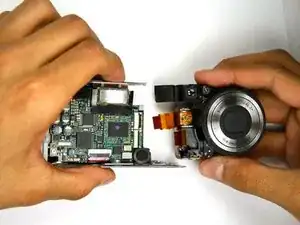
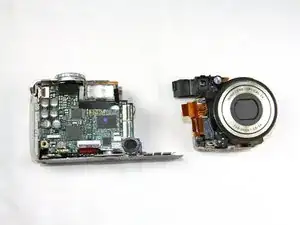
You should now have two distinct, separate components.
-
To reassemble your device, follow these instructions in reverse order.
