Introduction
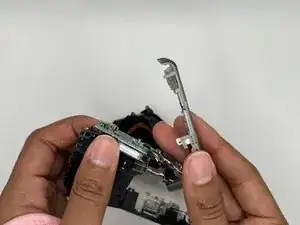
This guide will help you to replace the top panel on the Sony Cyber Shot DSC-W170.
If the shutter button or the power button are not working properly, the solution is to replace the top panel unit. Be sure to remove power/disconnect batteries before performing this task!
Take a look at our troubleshooting page if you need help to remove the battery.
On the Sony website you can find replacement parts for the camera.
Tools
-
-
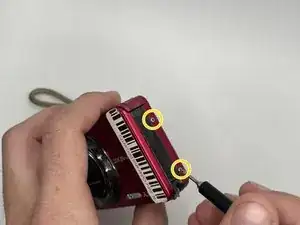
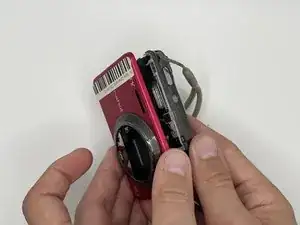
Remove the first side panel to the left of the LCD.
-
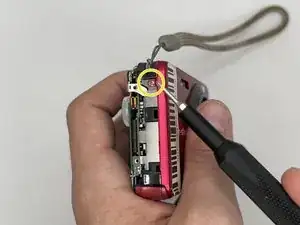
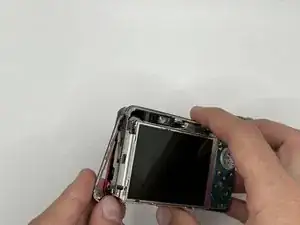
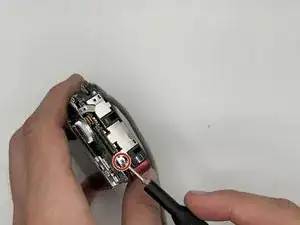
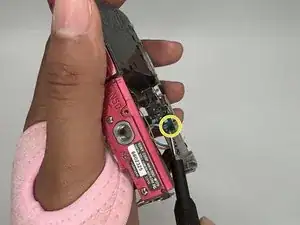
Remove the 4 mm screw from the other side panel to the right of the LCD with a Phillips #000 screwdriver.
-
-
-
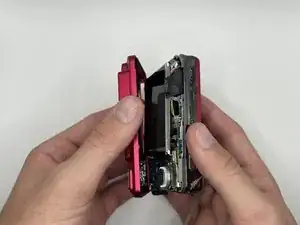
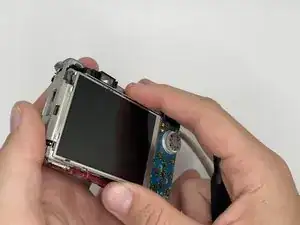
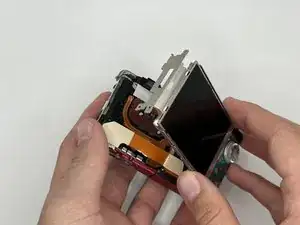
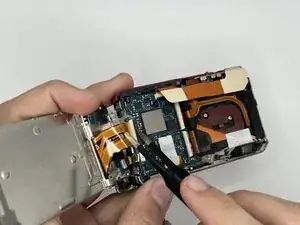
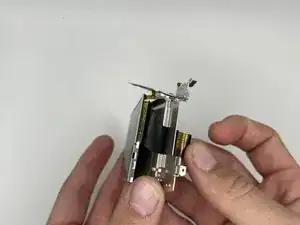
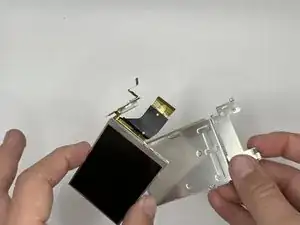
Gently, lift the LCD and carefully open the camera to disconnect the LCD ribbon cable from the motherboard.
-
-
-
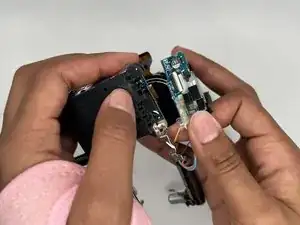
Peel back the flash assembly on the back of the lens.
-
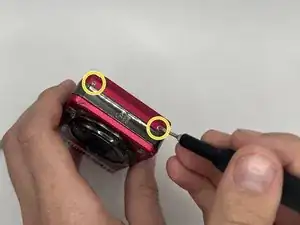
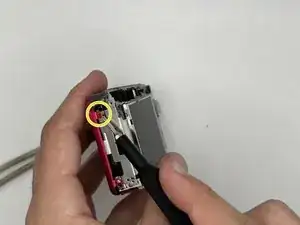
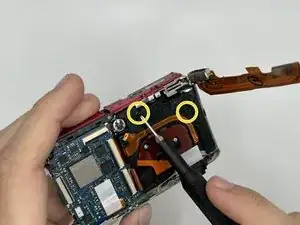
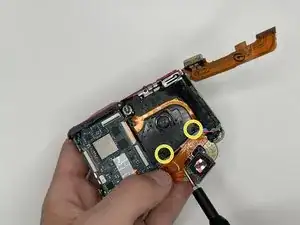
Remove the two 4 mm screws with a Phillips #000 screwdriver.
-
-
-
Pull out the battery from the side and remove the white tape from the battery assembly with tweezers.
-
-
-
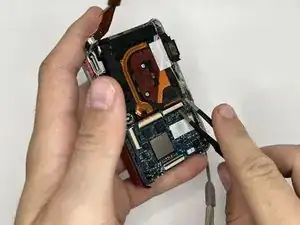
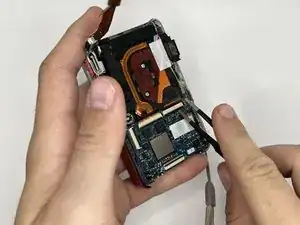
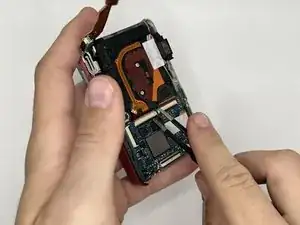
Disconnect the flat ribbon cable that connects the motherboard to the lens assembly with tweezers.
-
-
-
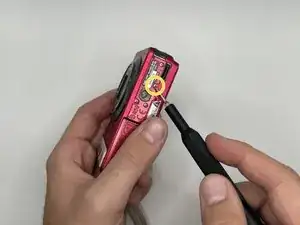
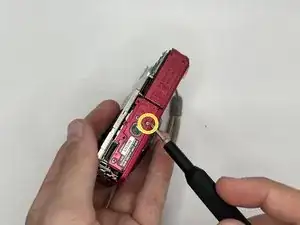
Remove the 4 mm screw from the bottom side of the top panel with a Phillips #000 screwdriver.
-
-
-
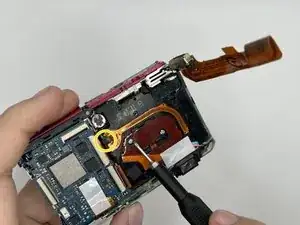
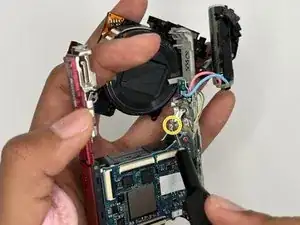
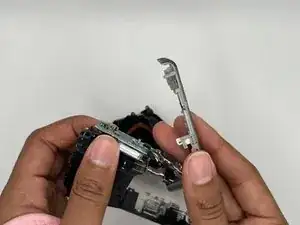
Remove the silver 4 mm screw with a Phillips #000 screwdriver from the silver bracket connected to the motherboard.
-
To reassemble your device, follow these instructions in reverse order.
