Introduction
The replacement of your screen takes a little work. With the right equipment though it is not too difficult to do. Just be ready to unscrew a lot of screws.
-
-
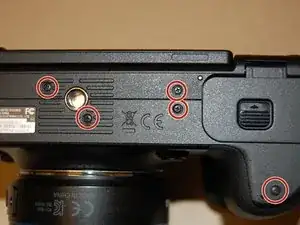
Flip the camera over so that the bottom of the camera is up.
-
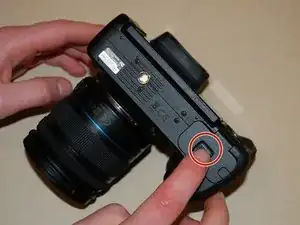
Push the battery switch towards the back of the camera.
-
-
-
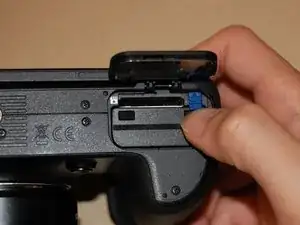
Locate the blue switch above the battery pack.
-
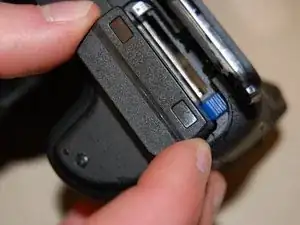
Slide the blue switch into the camera in the direction of the arrow on the switch. When the switch has been pushed in the battery will spring up.
-
-
-
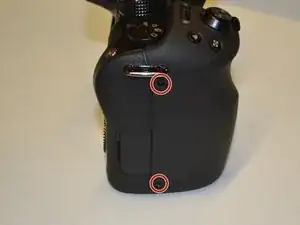
Unscrew the nine 4mm Phillips head screws surrounding the body of the camera. They are located on the bottom of the camera and both sides of the camera.
-
-
-
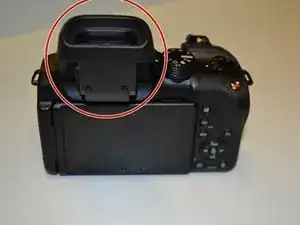
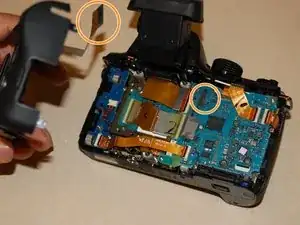
Pull the viewer out from the camera and then up.
-
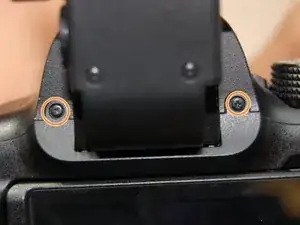
Unscrew the two black 4mm Phillips head screws under it.
-
-
-
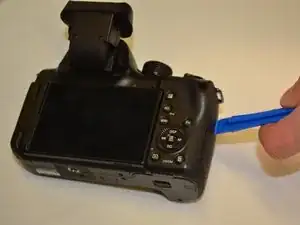
Once the screws are all removed, place the camera face down, with the screen facing up.
-
Pry open the body using the plastic opening tool.
-
-
-
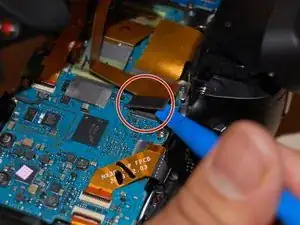
Then use the plastic opening tool to dislodge the Ribbon Cable, located near the top of the camera, from the Circuit Board.
-
The Ribbon Cable will be disconnected from the Circuit Board when you are done.
-


To reassemble your device, follow these instructions in reverse order.