Introduction
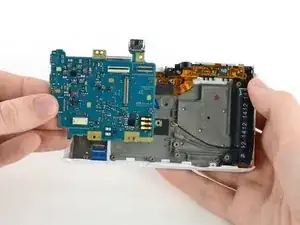
Is your camera exhibiting symptoms of a faulty motherboard? This guide will help you access the motherboard to replace it or make necessary repairs.
-
-
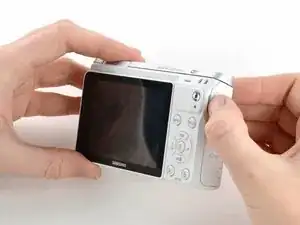
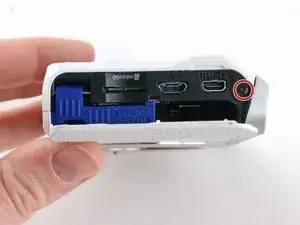
Orient the camera so the button panel and LCD are facing you.
-
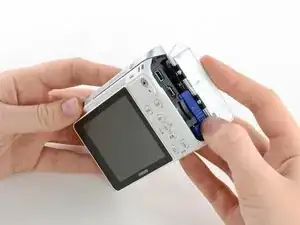
Use a spudger or fingernail to open the battery compartment on the right side of the camera.
-
-
-
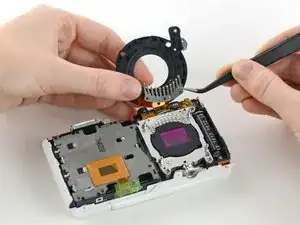
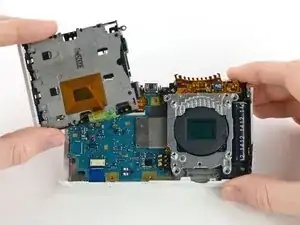
Gently flip the sensor cover back to expose the screw attaching the sensor cover to the ribbon cable.
-
Use a Phillips #00 screwdriver to remove the 3 mm screw from the sensor cover.
-
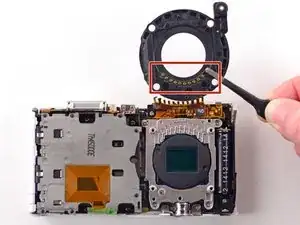
Use tweezers to remove the metal contact cover. Be sure to carefully remove the cover so the gold contacts remain in place.
-
-
-
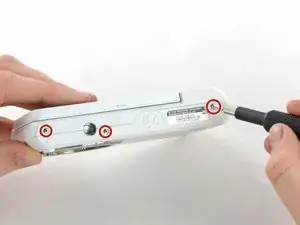
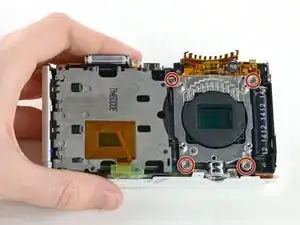
Remove the four 4 mm Phillips #00 screws securing the battery compartment to the mother board.
-
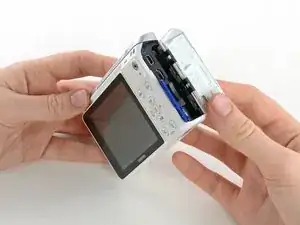
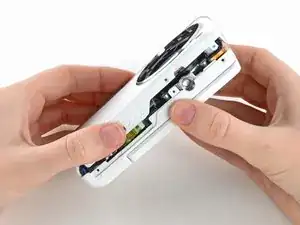
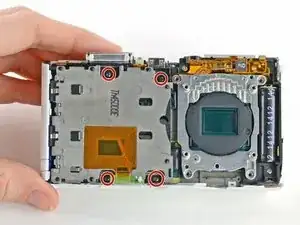
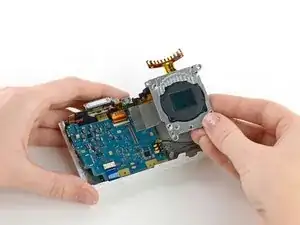
Remove the battery compartment.
-
-
-
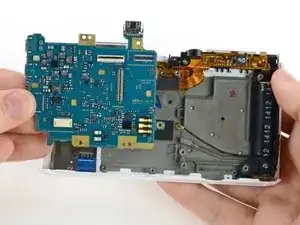
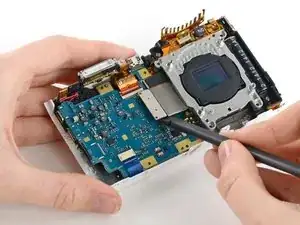
Use a spudger to disconnect the ribbon cable connecting the image sensor to the motherboard.
-
-
-
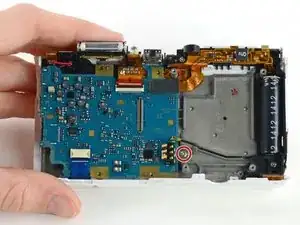
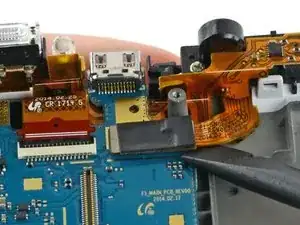
Use a spudger to disconnect the LCD ribbon cable by prying it straight up from the motherboard.
-
-
-
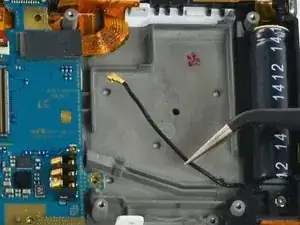
Insert the pointed end of a spudger into the hole in the middle of the ribbon cable.
-
Gently pull the spudger back to slide the ribbon cable out of its connector.
-
-
-
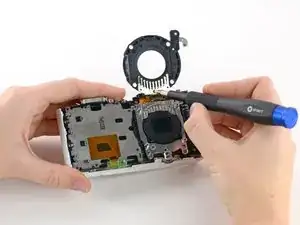
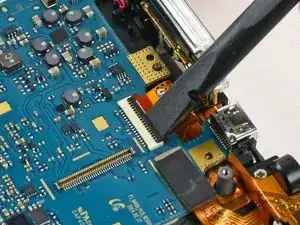
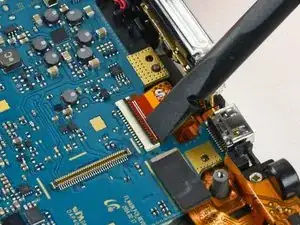
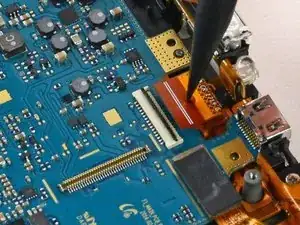
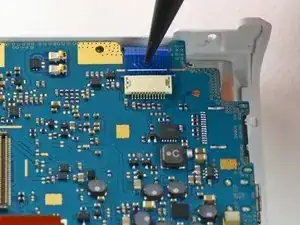
Disconnect the blue ribbon cable from the motherboard.
-
Insert the pointed end of a spudger into the hole in the top of the ribbon.
-
Gently pull the ribbon from the connector.
-


To reassemble your device, follow these instructions in reverse order.