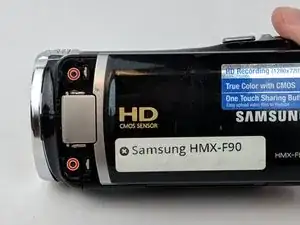
Introduction
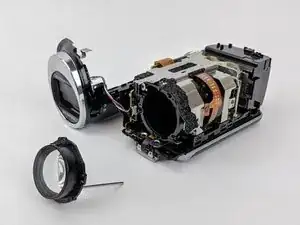
When the outer lens of an HMX-F90 Camcorder is scratched or scuffed it can require replacement. This guide will show you how to remove the outer lens
-
-
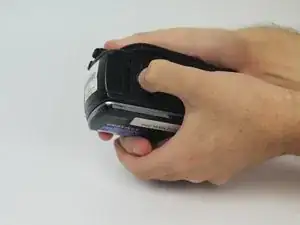
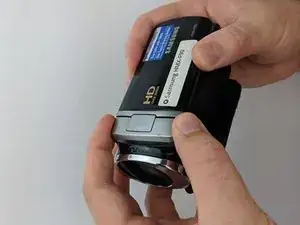
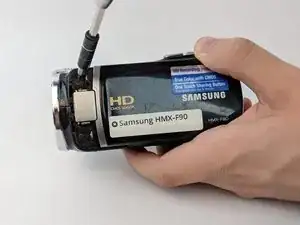
Pull the release tab away from the battery.
-
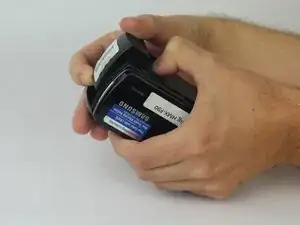
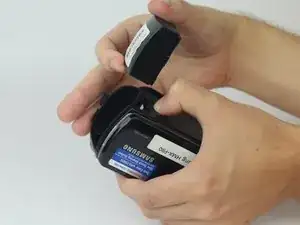
Slide the battery towards the release tab and then pull the battery away from the camcorder.
-
-
-
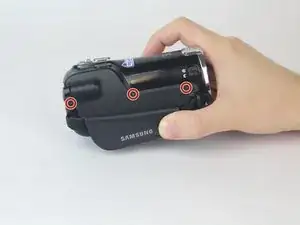
Rotate the camcorder so that the strap side is facing you.
-
Locate and remove the three 4.5mm Phillips #00 screws around the hand strap.
-
-
-
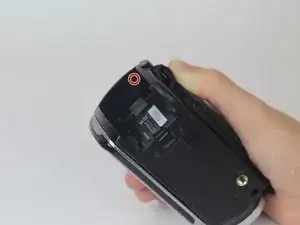
Rotate the camcorder so that the battery slot is facing you.
-
Located in the top left corner of the battery slot, remove the 4.5mm Phillips #00 screw.
-
-
-
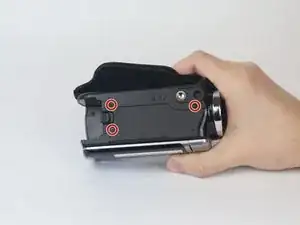
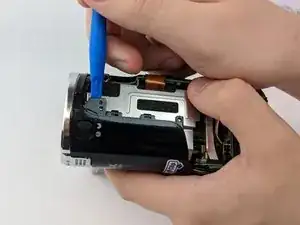
Rotate the camcorder so you are looking at the bottom of the camcorder.
-
Locate and remove the last three 4.5mm Phillips #00 screws.
-
-
-
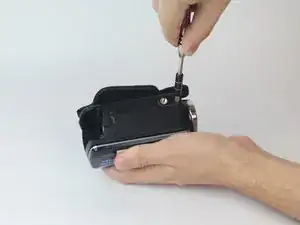
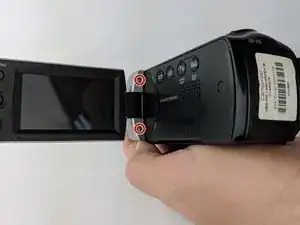
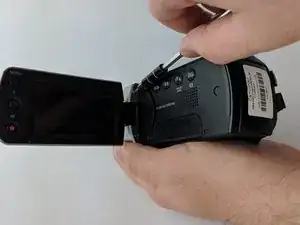
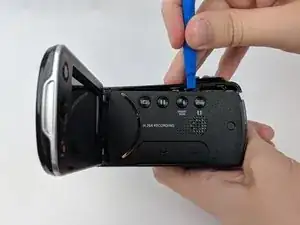
Rotate the camcorder so that back is facing you. Then flip open the LCD screen.
-
Locate and remove the 4.5mm Phillips #00 screws in the LCD screen base.
-
-
-
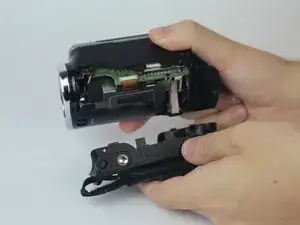
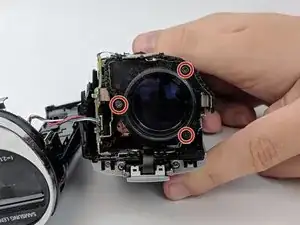
Locate and remove the three 4mm Phillips #00 screws around the lens.
-
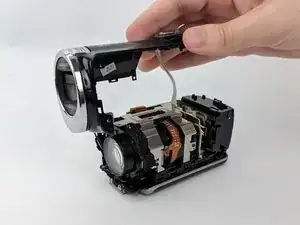
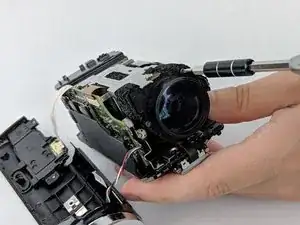
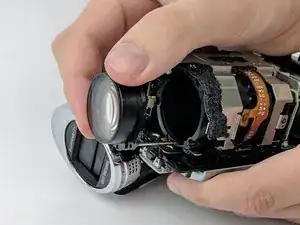
Gently remove the lens.
-


To reassemble your device, follow these instructions in reverse order.