Introduction
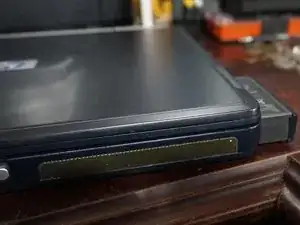
Note: The best time to do this is when the system is new. Darker systems (Ex: Dark Blue/Black) often have a more visible contrast then lighter laptops (Ex: Silver/aluminum).
On many PCs the OEMs put stickers which are prone to poorly wearing on laptops. Removing these stickers can improve device cosmetics in the long term.
Guide notes
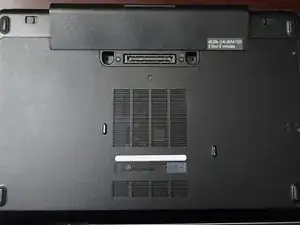
- The battery must be removed if it is placed where the sticker is placed. They can explode if they get too hot!
- Follow a guide specific to your laptop. All laptops are different.
- Be careful not to use too much heat. Plastic parts can melt if they get too hot, and will need to be replaced if this happens.
- To avoid damaging plastic, only use enough heat to remove the stickers.
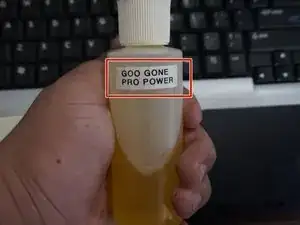
- Goof Off WILL DAMAGE PLASTIC. Goo Gone is a far safer choice all around.
- If you are in uncomfortable using solvents unless all options are exhausted, a piece of tape works, or the old case sticker that was removed.
------------------------------------------------------------------------------------------------------------------------------
Annoying OEM stickers
- Windows XP/Vista
- Intel (Some newer stickers come off cleaner then old ones, but require more heat).
- AMD CPU (pre-2011)
Guide Notes
- This procedure can be used to remove most stickers. These were selected on this laptop as a common example.
- While some stickers can be harder than others (often due to age or type of adhesive), the same procedure applies.
Parts
-
-
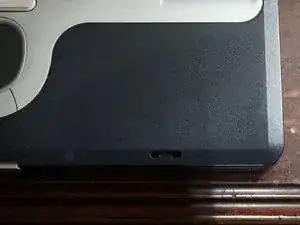
After removing the battery, warm up the palmrest with a hairdryer until it is warm to the touch.
-
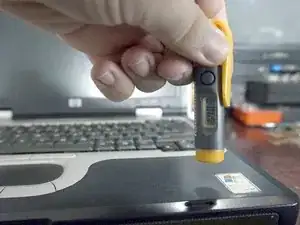
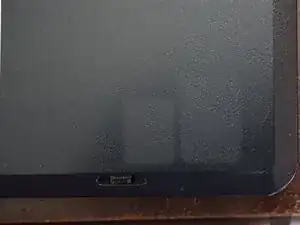
Peel the stickers off.
-
-
-
After the sticker(s) have been removed, clean the residual glue with a small amount of gentle solvent.
-
Clean the solvent after a few seconds.
-