Introduction
Use this guide to replace the finger trigger in your Ryobi P501G.
Tools
-
-
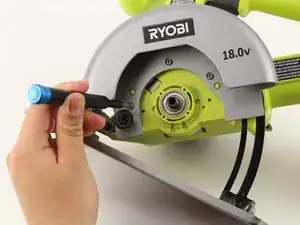
Remove the three screws on the inside base of the metal casing of the blade.
-
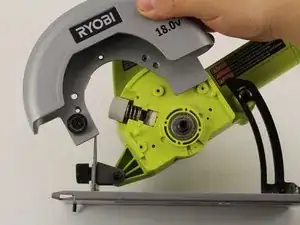
Pull the metal blade casing off of the Ryobi P501G body.
-
-
-
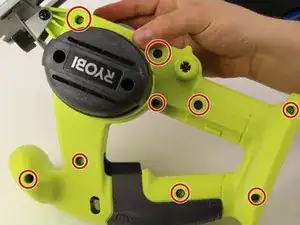
Remove all of the screws located on the right side of the saw.
-
Separate the right side of the saw from the left side by pulling away once all of the screws are removed.
-
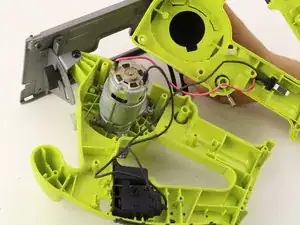
Pull back the shell to access the housed parts underneath.
-
-
-
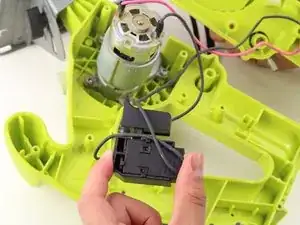
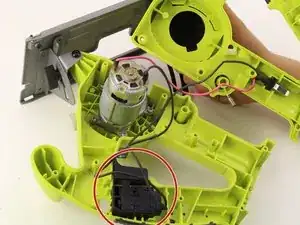
Remove the black wiring and the trigger is free! Reposition it however you'd like or switch it out with a new one.
-


Conclusion
To reassemble your device, follow these instructions in reverse order.