Introduction
This is straight forward and should be easily accomplished. The toughest part on this repair is to remove the front case. It does bind a bit around the USB port, but will free with a bit of shimming.
-
-
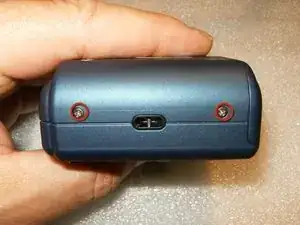
remove the batteries, the memory card as well as the carrying strip (if so equipped).
-
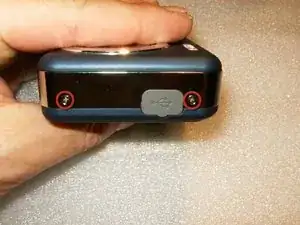
Remove the 2 screws on the right hand side.
-
Remove the 2 screws on the left hand side.
-
-
-
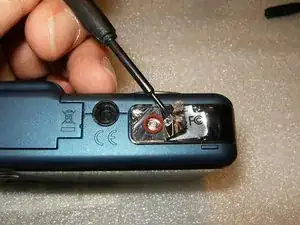
One more screw on the bottom, underneath the manufacturer's label.
-
Start spitting the case from the battery compartment. You can use a plastic opening tool, or your finger nails. It does bind a bit at the USB port side, but will separate pretty quick.
-
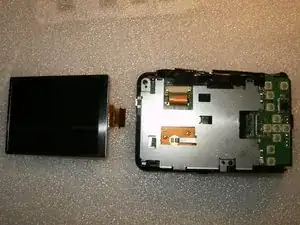
With the back removed, the large LCD becomes immediately visible. There are no fasteners, it just rests inside the tray.
-
-
-
Lift the LCD out of the tray and move it to the right of the tray. The cable is still attached to the logic board via a latch.
-
With the plastic opening tool, or your fingernails, gently flip the latch to the left side. This will free the LCD cable. Remove the LCD and install your new one.
-


To reassemble your device, follow these instructions in reverse order.