Introduction
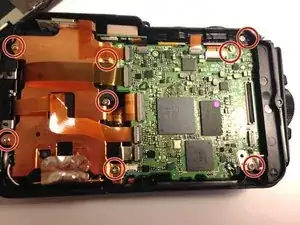
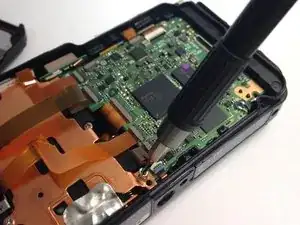
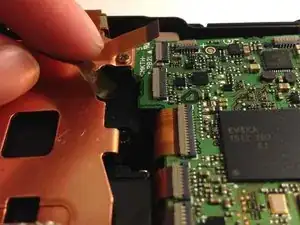
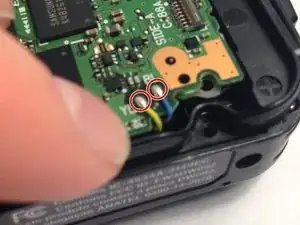
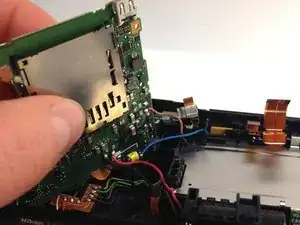
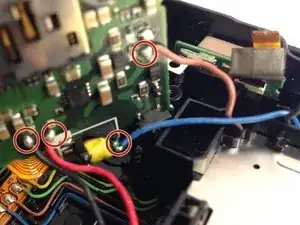
The motherboard is the key component to making the camera run. If there is a faulty connection, the camera will not turn on at all. This repair should be completed with care, as to not interrupt the flow of power.
Tools
-
-
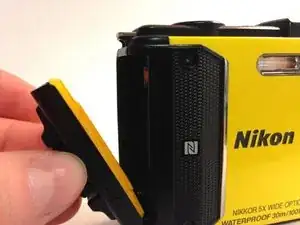
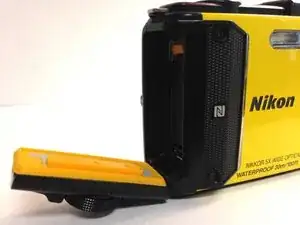
Using your thumb and pointer finger, open the card/battery hatch by pressing the center button of the wheel and turning the entire wheel to the left.
-
-
-
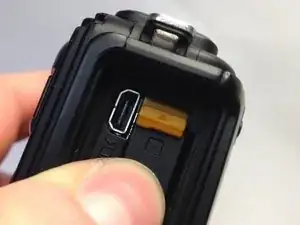
After pressing the yellow tab, the battery should loosen.
-
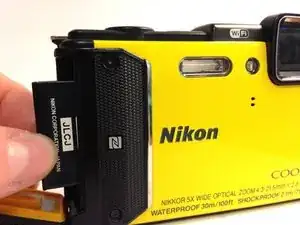
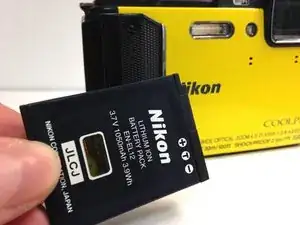
Slowly pull the battery completely out.
-
-
-
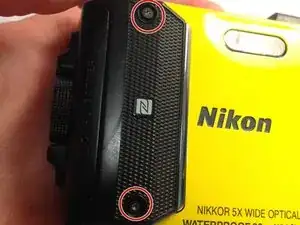
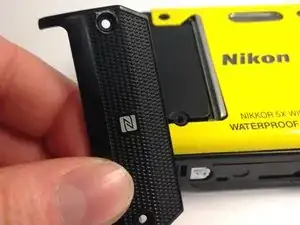
Using the T4 Torx Screwdriver, remove the 2, 4mm screws holding the N-Mark plate in place.
-
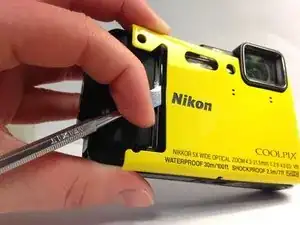
Carefully pull the plate off of the face.
-
-
-
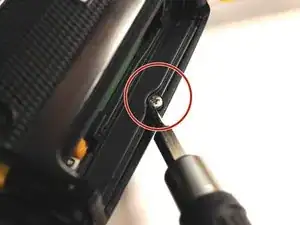
Using a Phillips #000 screwdriver, remove the single 3mm screw found inside the battery/charging compartment.
-
-
-
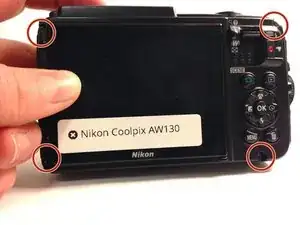
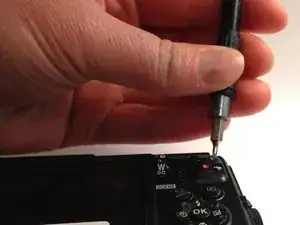
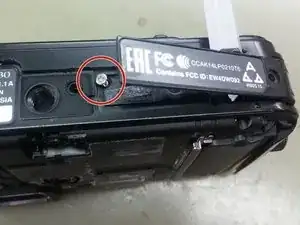
Remove two Philips screws from the bottom cover, lift gently the cover and remove the single Philips screw under it.
-
To reassemble your device, follow these instructions in reverse order.
One comment
Thanks for this guide.
I managed to open 2 of theses and swap the sensor-unit from one to another.
Unluckily the camera remains broken since one only shows a black picture - even though the sensor is alright an the other has a broken AF from a fall, I suppose...
I am certain with some silicone grease on the orange rubber the camera would still be waterproof.
