Introduction
This guide will demonstrate how to remove the mother board from your camera.
-
-
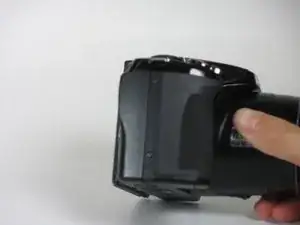
Press down and forward on the battery cover latch.
-
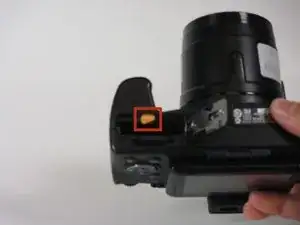
Push the orange latch, in the direction of the arrow on it, to release the battery.
-
-
-
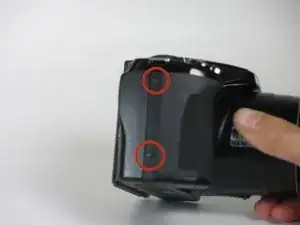
Remove all the marked screws using a PH00 screwdriver.
-
Remove the two 3mm screws on the grip.
-
Remove the two 4mm screws on the side opposite the grip.
-
Remove the three 4mm screws on the base of the camera.
-
Remove the four 3mm screws on the base of the camera.
-
-
-
Remove the 2mm screw from the microphone metal grid using a PH00 screwdriver.
-
Remove the 4mm screw that was under the metal microphone grid using a PH00 screwdriver.
-
-
-
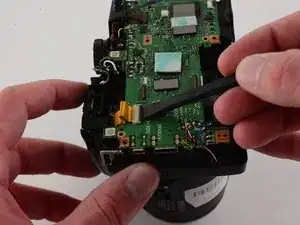
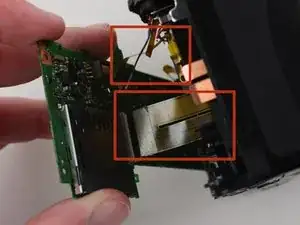
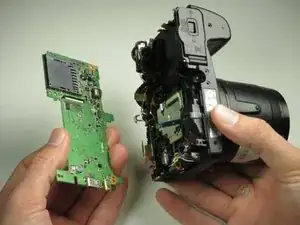
Separate the two parts of the body of the camera slightly.
-
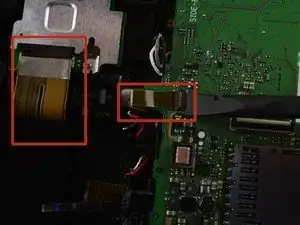
Release the two cables by lifting up their respective clips with a spudger.
-
-
-
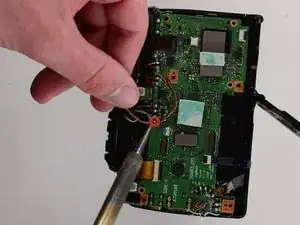
Use a PH00 screwdriver to unscrew the four labeled 3mm metal screws on the metal backing.
-
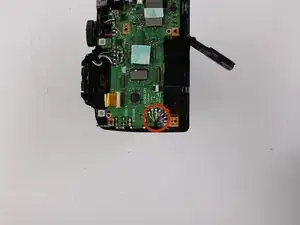
Remove the four labeled 4mm screws connected to the motherboard.
-
Remove the metal support.
-
-
-
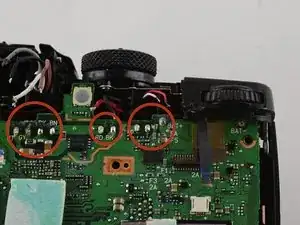
Use a spudger to unlock the labeled connector ribbons.
-
Disconnect the labeled connector ribbons.
-


To reassemble your device, follow these instructions in reverse order.