Introduction
Tools
-
-
Apply pressure to the bottom plate and it will pop off.
-
From here, you can replace the bottom plate, or continue on to further steps.
-
-
-
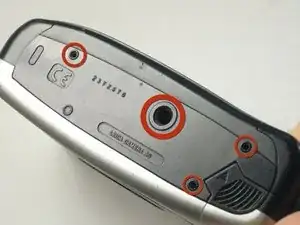
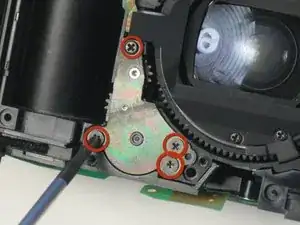
Having opened the camera and removed the bottom plate, unscrew the five screws marked in the picture.
-
The screw marked in blue is a tiny bit harder to find because it's in a crevice. Don't miss it!
-
-
-
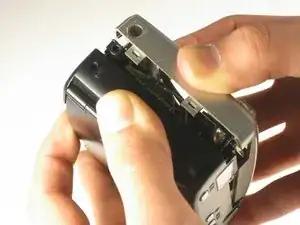
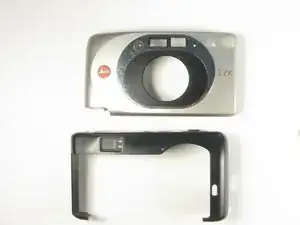
Now that you've removed the bottom plate, you can pull apart the front and back covers.
-
Start with the front cover and, by applying pressure (perhaps a lot of pressure), snap off the front cover.
-
-
-
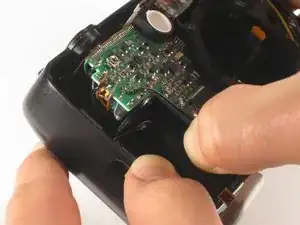
Next, the back cover.
-
Apply pressure to remove the back plate.
-
The best way to remove the back is to stick your thumbs on either side of the battery socket and separate from there.
-
-
-
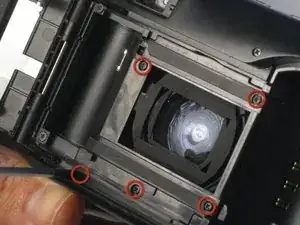
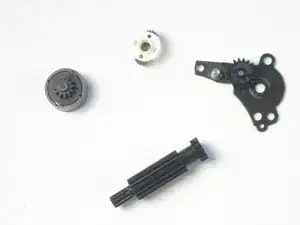
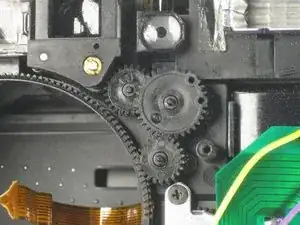
Remove the three gears under the panel you removed in the last step and the lens motor should be able to be removed.
-
-
-
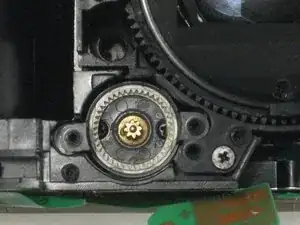
Now that the lens motor has been removed, you can apply pressure to the back of the lens and push it out.
-
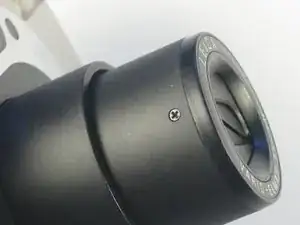
From here, locate the three screws near the front of the lens.
-
Unscrew these three screws.
-
-
-
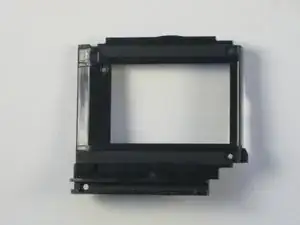
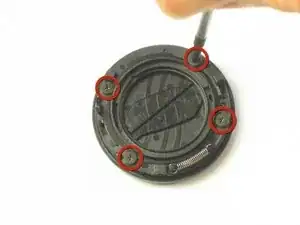
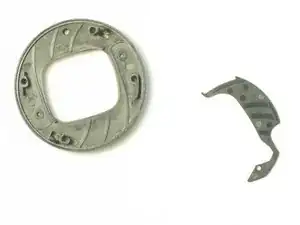
From here, you can pull out the small disk containing the lens cover.
-
Unscrew the four screws on the back and pull the two pieces of the disk apart.
-


To reassemble your device, follow these instructions in reverse order.