Introduction
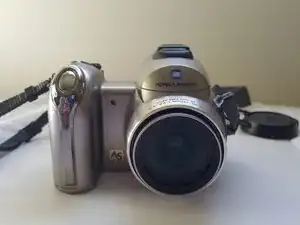
The LCD screen of the Konica Minolta Dimage Z6 has been known to cause issues and need replacement. This guide walks through the steps needed to replace a cracked or damaged LCD screen. Please refer to these links for safety precautions when dealing with batteries or broken screens.
Tools
-
-
Push the battery cover in and away from the camera.
-
Remove all four batteries.
-
Close the battery cover before continuing.
-
-
-
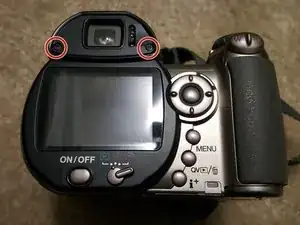
Use a Phillips #000 screwdriver to remove the two black screws above the LCD screen.
-
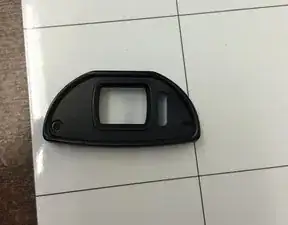
Remove the black view protector.
-
Remove the screen cover by applying slight force at the top, then pulling away from the camera.
-
-
-
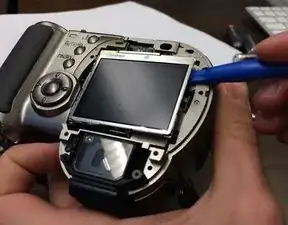
Carefully use the spudger to pop the LCD screen out of the bracket.
-
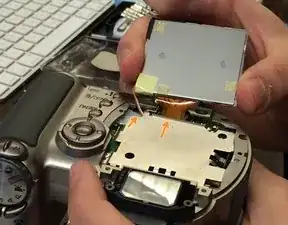
The LCD screen should still be attached by orange ribbon cable and two wires, one orange and one white.
-
Use tweezers to carefully pull the ribbon cable from the logic board, not from the LCD screen.
-
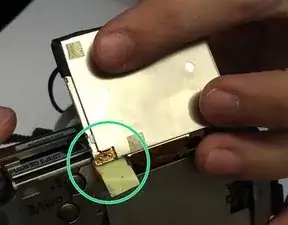
Peel back yellow tape on LCD screen to reveal where the two wires are attached. Use tweezers to detach the orange and white wires from the LCD screen.
-
-
-
Attach the wires to the new screen in the same spot they were attached to the old one.
-
Attach the new screen's ribbon tape to the logic board underneath the metal plate.
-
With the new screen attached, put it in place on the metal plate. You can now replace the screen cover.
-
-
-
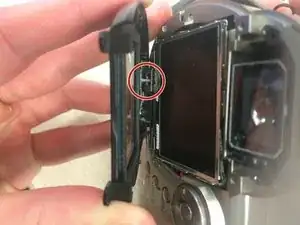
As you start to reassemble, note the grey extension at the bottom of the black screen cover. Apply pressure to the bottom of the cover and slide upwards onto screen.
-
With the main screen cover in place, follow steps 1-3 in reverse to completely reassemble the device. If the new screen was attached correctly, the camera should function as normal.
