Introduction
This guide will show you how to remove the internal lens of your camera.
Tools
-
-
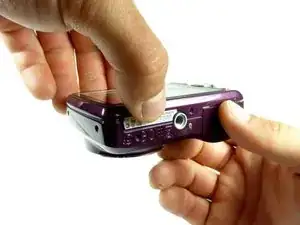
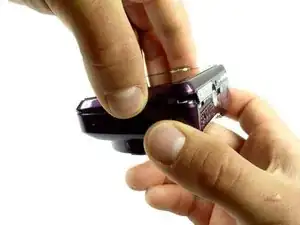
To start, remove the Philips #00 4.5 mm screws on both sides of the camera.
-
On the bottom, there are three Philips #00 4.5 mm screws. Two are for the front panel and one is for the back panel. To remove the back panel, take out the screws indicated in the final picture of the sequence.
-
-
-
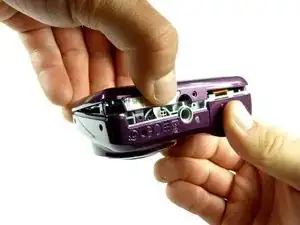
Once all the screws are out, remove the back panel.
-
To do this, start by removing the bottom of the panel.
-
-
-
Once the bottom part is unhooked, unhook the top, and the whole panel should come off.
-
Be sure to gently pry the cover off.
-
-
-
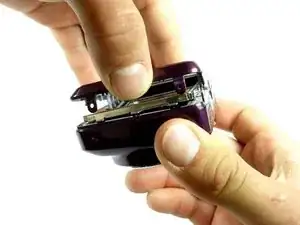
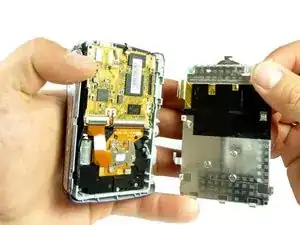
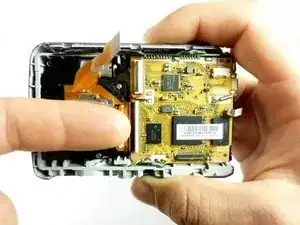
In the top right hand corner of the inside of the camera, there is a Philips #00 4 mm screw that needs to be removed.
-
-
-
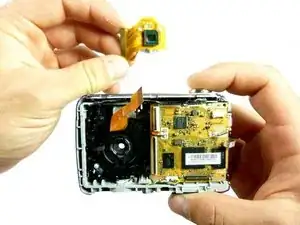
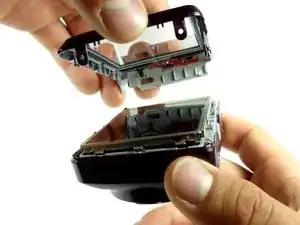
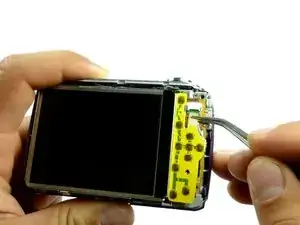
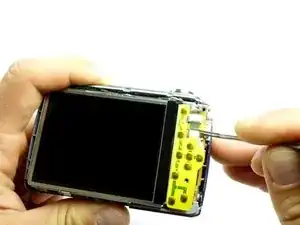
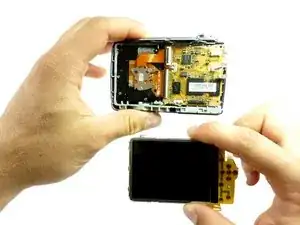
Now that the LCD screen as been completely removed, the internal lens can be removed.
-
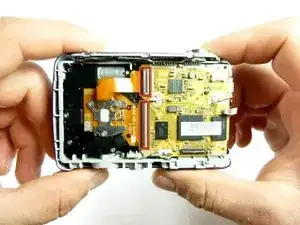
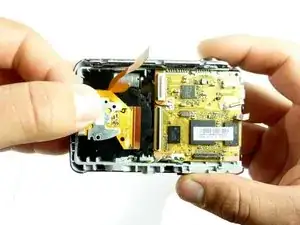
To do this, flip the two black tabs to the left of the yellow motherboard up.
-
-
-
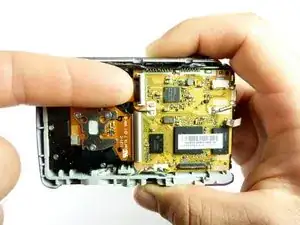
Once the tabs have been flipped, pull the orange tab out.
-
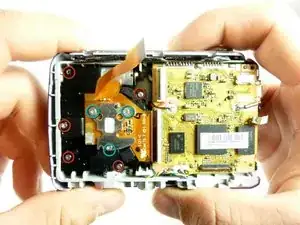
Next, use the #00 Philips head screwdriver to remove the five 4.5 mm screws to the left of the motherboard.
-
Remove the three Philips #00 3 mm screws on the silver metal plate directly behind the lens.
-
-
-
Remove the internal lens from the camera.
-
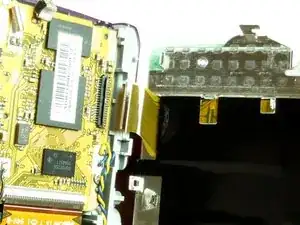
The second picture shows what the camera should look like with out the internal lens attached.
-


To reassemble your device, follow these instructions in reverse order.