Introduction
Disassembling a tablet often requires some gentle prying of the frame. Be sure to exercise care during these first few steps(disassembling), and do not lose your screws! The Paperwhite is a sturdy tablet that can be broken down into just a few components. This guide will show you how to replace a faulty screen.
Parts
-
-
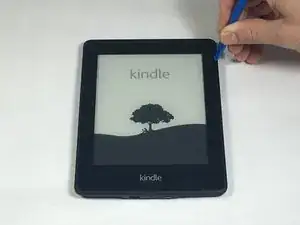
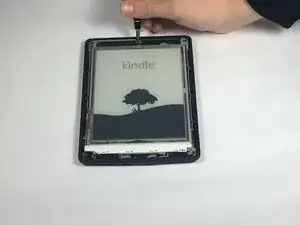
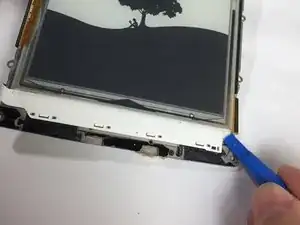
Insert plastic opening tool into the corners of the Paperwhite and slide around the edge perimeter to remove bezel.
-
-
-
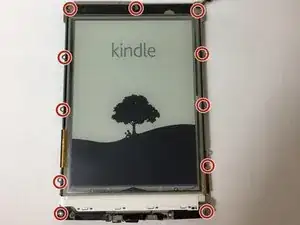
Remove the eleven 3.2 mm Phillips 000 screws from corners of mid-frame and from behind the black strip as shown.
-
-
-
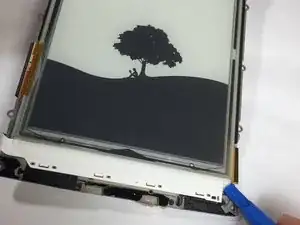
The screen itself is glued to the mid-frame. If your replacement screen does not include the mid-frame, heat the screen with an iOpener and gently pry it from the mid-frame with a blue plastic opening tool.
-

To reassemble your device, follow these instructions in reverse order.
2 comments
My opening tool is orange. Will this still work for me?
I’m hoping to replace my screen with this part:
Kindle Paperwhite (2nd Gen) Display
Does this part include the mid-frame? I would like to avoid using the iOpener if possible.
Thank you!
Be careful here. If you’re using something like a spudger or a longer bladed tool, it’s possible to slide it under the backlight/touch membrane and pull it up from the assembly. Use shallow movements and try your best to pry it up from the bezel only.
Matt Adams -