Introduction
Replace your Kindle's old motherboard with a new one.
Tools
-
-
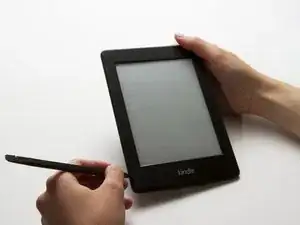
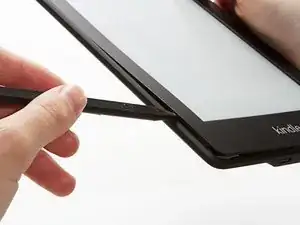
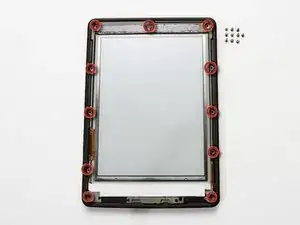
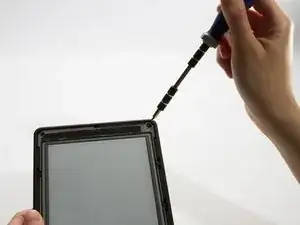
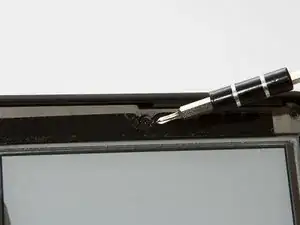
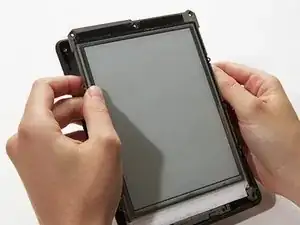
Using a spudger or plastic opening tool, gently pry the bezel from the screen. It is easier to start in the corners and work your way around the bezel.
-
-
-
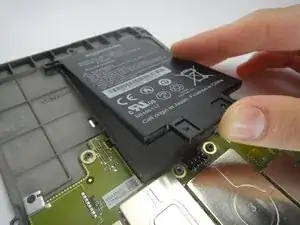
Turn over the midframe to locate the battery.
-
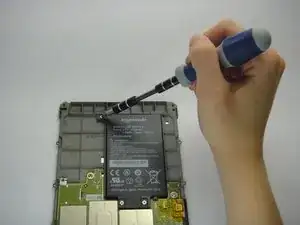
Remove the three Phillips 3.0 mm screws securing the battery to the midframe.
-
-
-
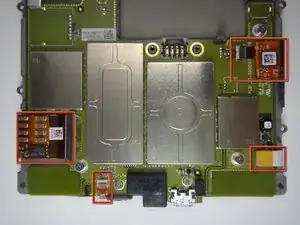
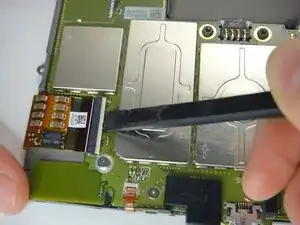
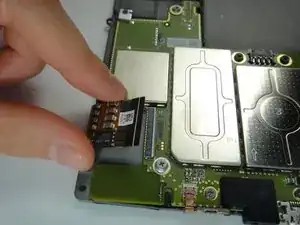
Use a spudger to lift up the white locking cable tensioner and slide the flex cable out.
-
Proceed counterclockwise to the next cable and repeat. Small flex cable on the bottom won't need cable tensioner lifted, just carefully pull out.
-
-
-
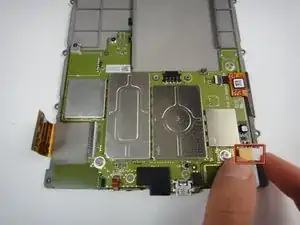
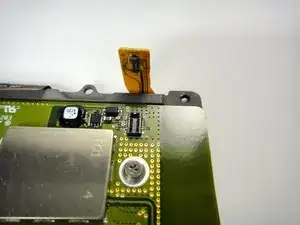
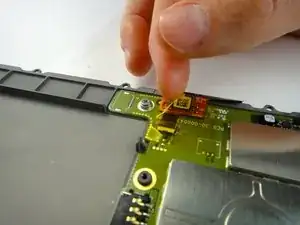
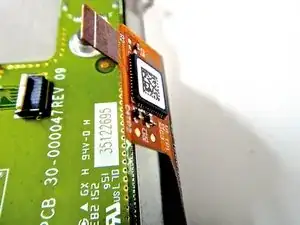
Remove the yellow anti-static tape from the display ribbon cable connector.
-
Use a spudger to lift up and disconnect the cable tensioner.
-
-
-
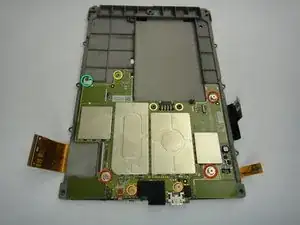
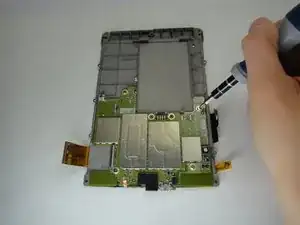
Three silver screws with silver washers
-
Two silver screws with no washers
-
One black screw with a golden washer
-
One black screw with a square washer
-
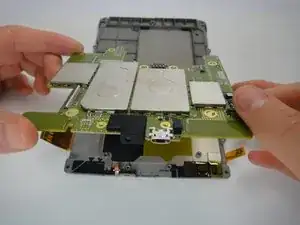
To reassemble your device, follow these instructions in reverse order.
2 comments
Not sure if this is an error, but on the 3G paperwhite, we needed to use a #0 Phillips, not a #2. Great guide otherwise!
Please suggest what type of controller is used and the model and flash memory in the Kindle Paperwhite 1st Generation?
ven 1949, div 0004
Elecrash -



I found it easier to start this step off with one of the Opening Picks found in the iOpener pack.
NathanF -
The glue on bezel started to peel the sticky back protective layer off the screen for me - managed to smooth it back down, although now have an unsightly crease. I would try to hold the screen down when you pull the bezel off to stop damaging the screen.
Callum Rogers -
This step is most time consuming. Take you time and try not to scratch the bezel :)
Oleksii -
Couldn't get the plastic spudger under the edge of the bezel. A right-angle X-Acto blade was a satisfactory tool here.
dbrick -
The glue was VERY difficult...I used a trick, from taking apart phones, and used a hair drier to loosen up the glue...worked like a charm.
billkaris -