Introduction
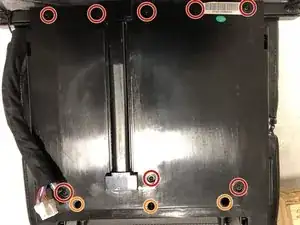
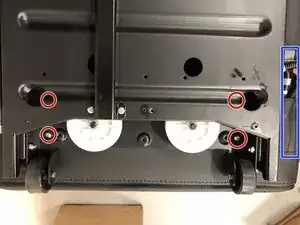
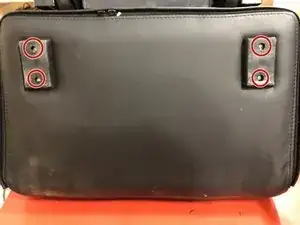
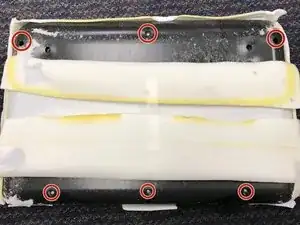
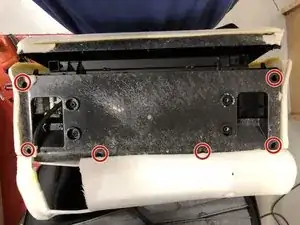
All Screws in here will be color coded , example : Red and Orange on the same step means there are 2 different types of screws on that step.
Tools
-
-
Air hose will then be disconnected from the nozzle marked with an arrow. Then unplug the three wires from the relay PCB.
-
Mounted here will be a screw threaded through 2 plastic holders . remove the screw and don't lose the plastic holders.
-
-
-
Unzip the the zipper marked with a red line. This will completely disconnect the upper assembly from the lower assembly.
-
-
-
Unzip the the leather from the bottom
-
Once leather is unzipped this is what you should see . Go ahead and remove the entire leather cover .
-
-
-
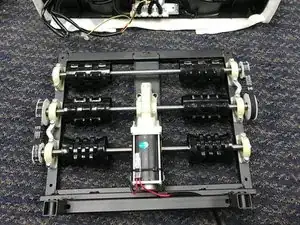
unplug motor wire.
-
Unscrew grounding wire. Be sure to reuse this screw and washer if new assembly did not include one.
-
To reassemble your device, follow these instructions in reverse order.
PLEASE REMEMBER THE FOLLOWING DURING REASSEMBLY:
- When gluing the foam to the plastic DON'T over do it , just spray for a second on the desired area and press foam onto glue.
- When Gluing the foam be sure your edges are smooth and everything is secured , other wise you will get bumps in the leather .
- There will be wrinkles on the leather when its re stretched , this is normal . They usually dissipate over time.
- If the Bolts from step 2 will not go on use a utility knife and cut X shaped holes on the leather until you can physically see the thread .
- When attaching the 3 wires and 1 hose from step 3 BE SURE these are not getting pinched between the upper and lower portion. Otherwise you will get no air to the feet area.
Good Luck .
