Introduction
Over time, the Brother SC 9500 computerized sewing machine begins to make a high-pitched metallic squeak when the needle rises and falls. The sound is usually the combination of two issues: 1) dust build up in the feed dogs and bobbin well; and 2) a dry joint in the needle arm mechanism that requires oiling. Addressing these two problems stops the squeaking. Let's begin!
-
-
Flip the power switch on the back end of the sewing machine to "off."
-
For extra security, also unplug the power cord entirely.
-
-
-
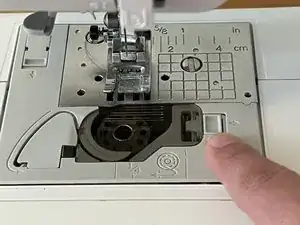
Slide the bobbin plate lock switch to the right.
-
Remove the plate cover.
-
Remove the bobbin (if you have one loaded).
-
-
-
Locate the presser foot release switch on the back of the presser foot.
-
Squeeze the release switch gently.
-
-
-
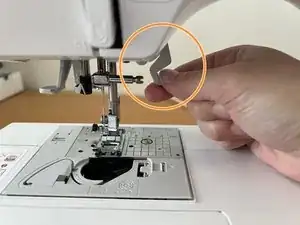
Use a coin to twist the needle securing screw towards yourself (counterclockwise).
-
The needle will drop down when it's loose enough. Carefully set the needle aside.
-
-
-
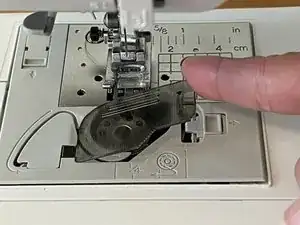
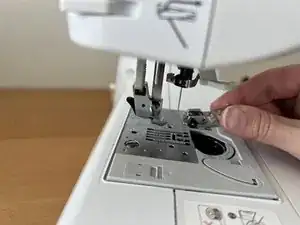
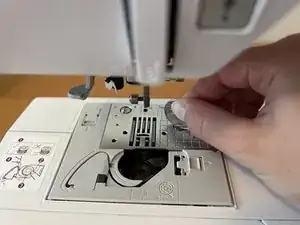
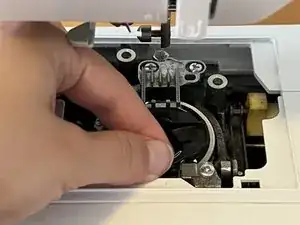
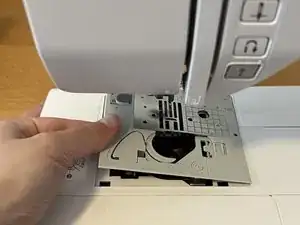
Use a coin to unscrew the two screws holding the bobbin well cover plate in place.
-
Lift the well cover plate from the left edge first to remove it.
-
-
-
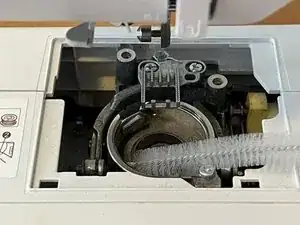
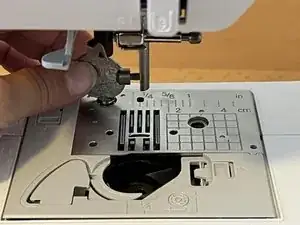
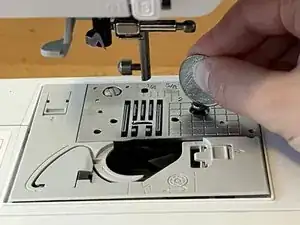
Use a straw cleaner to remove dust and lint from the bobbin well tray.
-
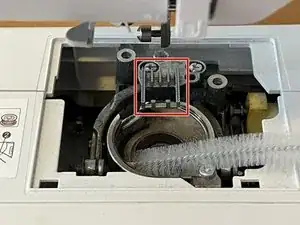
You should also use the straw cleaner to clean between the metal teeth on the feed dogs.
-
-
-
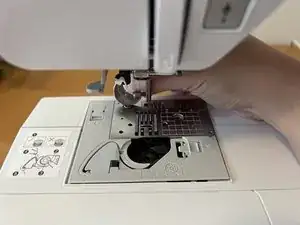
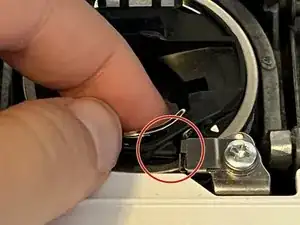
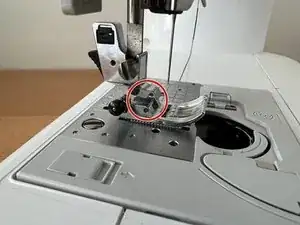
Replace the bobbin well once all the dust is gone.
-
Make sure the black tab on the black bobbin well is placed right up against the metal spring in the bobbin well tray.
-
-
-
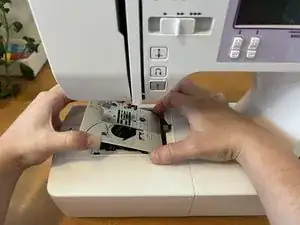
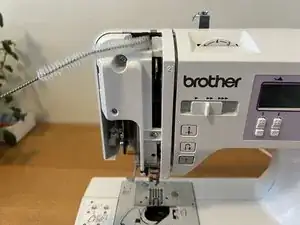
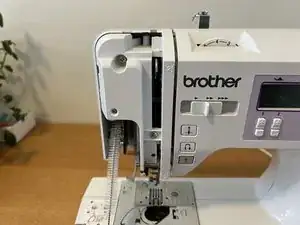
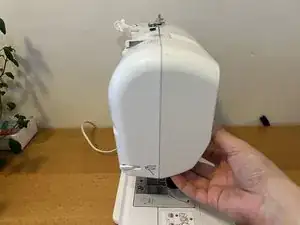
Turn the machine around to the back and unscrew the single screw on the far right edge.
-
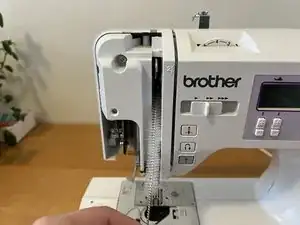
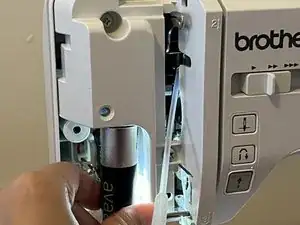
Pinch the bottom edge of the faceplate and pull up to detach.
-
-
-
Use the straw cleaner to dust the top, bottom left, and inner right sides of the internal needle arm mechanism.
-
-
-
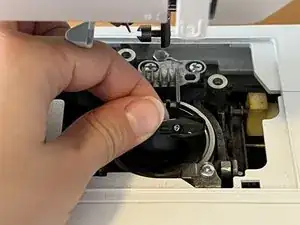
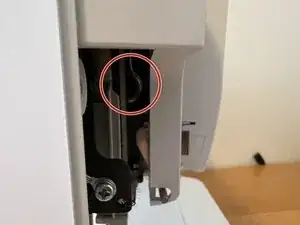
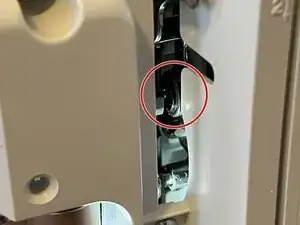
Locate the inner joint. It looks like a large round disk in the right side of the needle arm mechanism.
-
Apply two drops of sewing machine oil to this joint.
-
-
-
Turn the hand wheel on the end of your machine two full times clockwise to spread the oil around the joint.
-
-
-
Replace the faceplate.
-
Slot the top edge over the exposed inner mechanism first.
-
Lower the faceplate cover until it snaps into place at the bottom.
-
Replace the screw of the back of the machine until it is hand-tight.
-
-
-
Align the presser foot bar with the presser foot clip.
-
Pull down on the presser foot lever to push the clip into the bar. It will audibly snap into place.
-
Push the presser foot lever up to check that the presser foot is secure.
-
-
-
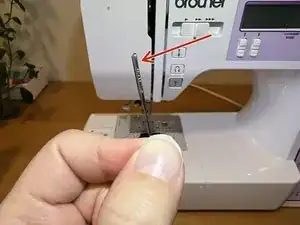
Lastly, carefully replace the needle.
-
Sewing machine needles have a round front and a flat back. Insert the needle with the flat back facing away from you.
-
Use a coin to tighten the needle screw clockwise until it is hand-tight.
-


Congratulations! Your sewing machine is ready to be re-threaded and used. Enjoy sewing squeak-free.