Introduction
This guide involves further disassembly of the clock radio and will require using several different tools and techniques, including using a soldering iron. If you need help on how to use a soldering iron, consult this iFixit guide: How To Solder and Desolder Connections
Tools
-
-
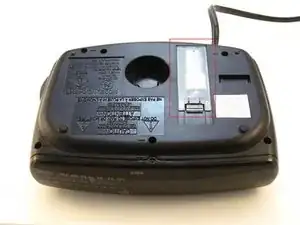
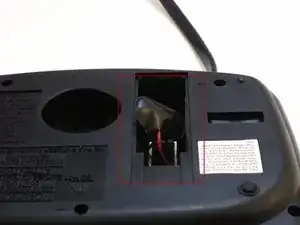
Find the battery compartment on the bottom of the clock radio.
-
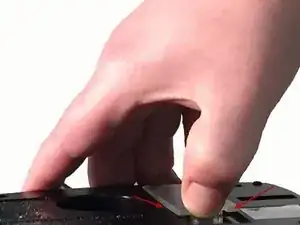
Using your thumb, push the compartment cover latch toward the battery.
-
With the latch pushed in, pull the compartment cover upward to remove it..
-
-
-
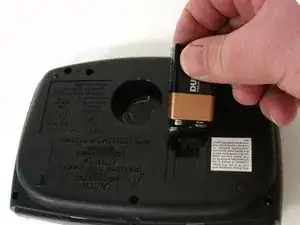
Lift the battery from the compartment.
-
Pull the battery up and gently disconnect it from the battery connector.
-
-
-
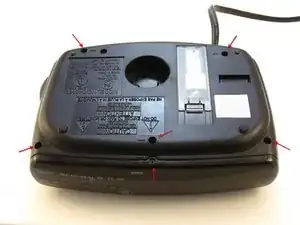
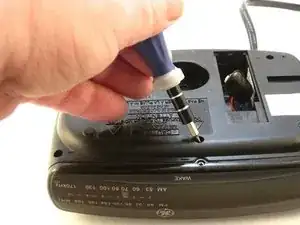
Using a Phillips #00 Screwdriver, unscrew the six 12mm screws from around the bottom of the clock radio.
-
-
-
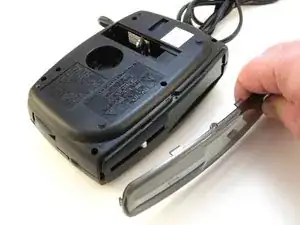
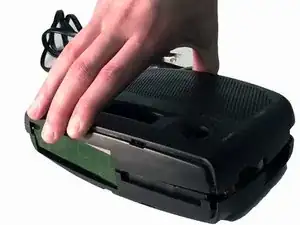
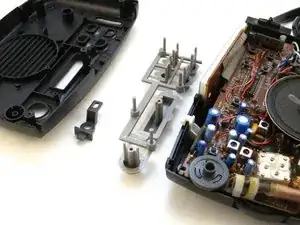
Lift the top off. Two gray, plastic internal pieces will fall out when you do this; set them aside.
-
-
-
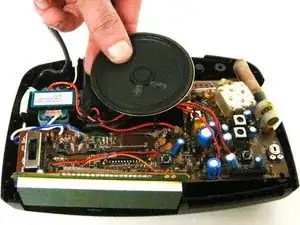
Locate the two 6mm screws on the PCB.
-
Using a Phillips #0 Screwdriver, unscrew the two 6mm screws from the PCB.
-
-
-
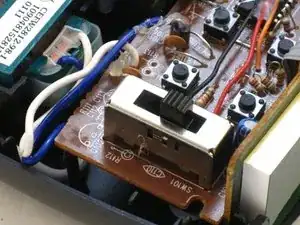
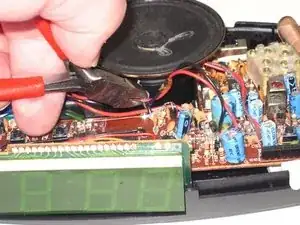
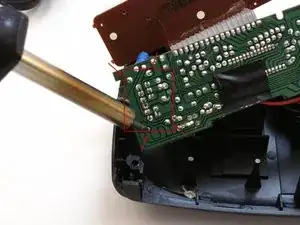
Locate the four-position switch marked SW101. On the underside of the PCB, there will be 4 soldered pins as pointed at in the picture.
-
Apply the hot soldering iron to those four soldered pins to disconnect the four-position switch.
-
To reassemble your device, follow these instructions in reverse order.
