
Introduction
-
-
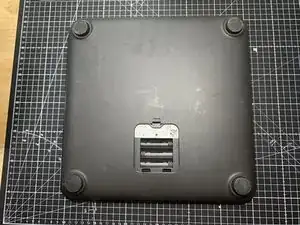
Place the scale upside down on a surface that will protect the glass top of the scale and won’t scratch.
-
Remove the battery cover and batteries (if installed).
-
-
-
Remove the label in the battery compartment. You can use a small flat headed screwdriver or similar implement to pry the sticker up. (Try to avoid damaging the sticker too much if possible).
-
Use a Torx T10 screwdriver to remove the two Torx screws and set aside.
-
-
-
Using a small flathead screwdriver, starting new the corners, pry away the plastic panel from the glass top.
-
Once the gap is wider use larger pry tools to allow you to pull the bottom section away. You may need to use some force to release the clips.
-
Note there are no cables of components connected to the bottom plate so do not be concerned about ripping delicate cables.
-
-
-
Once open necessary repairs can be made.
-
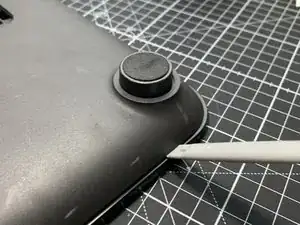
If your issue is regarding inaccurate measurement you can remove the feet by pulling them, then remove the feet mounts using a small flat headed screwdriver to release the three clips.
-
Reassemble the feet and feet mounts outside of the unit then reseat them in the clips.
-


To reassemble your device, follow these instructions in reverse order.