Introduction
This guide will show how to replace damaged casing on the Dremel MultiPro 395.
Tools
-
-
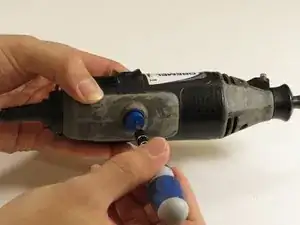
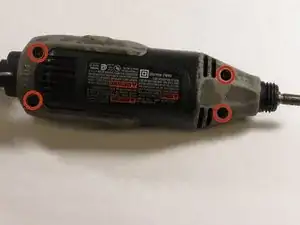
Remove the blue caps located on either side of the MultiPro, using a 3 mm flathead screwdriver.
-
-
-
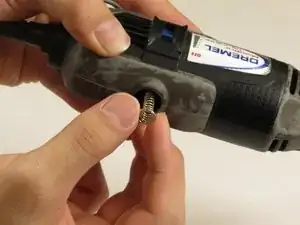
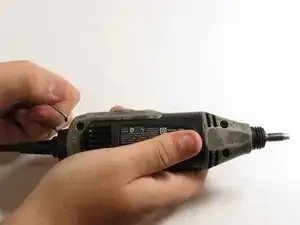
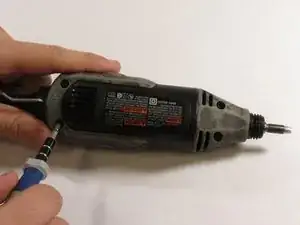
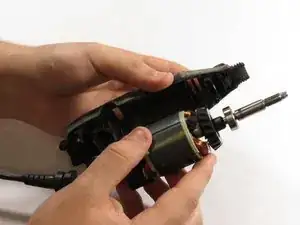
Carefully remove the carbon brushes attached at the end of the springs by gently pulling on the springs using your hands.
-
-
-
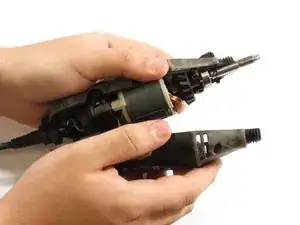
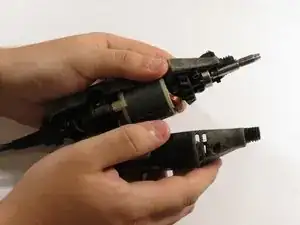
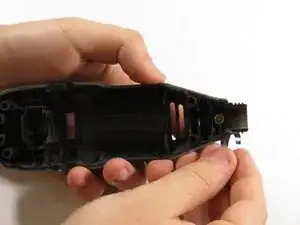
Pull one side of the hanger up and then pull away from the Multipro until the other side can be pulled out.
-
-
-
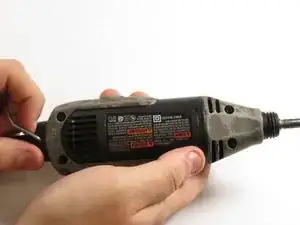
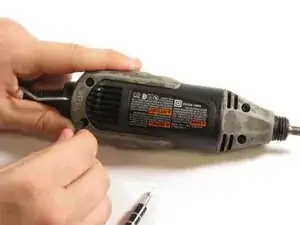
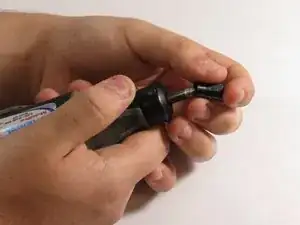
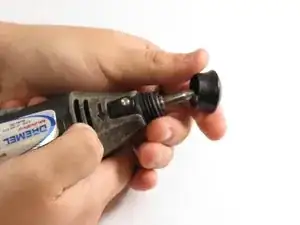
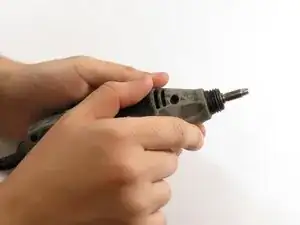
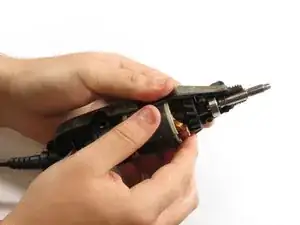
Hold down the collet lock, remove the chuck cap from the top of the Multipro by screwing counterclockwise.
-


Conclusion
To reassemble your device, follow these instructions in reverse order.
2 comments
A link to parts is always nice,
bari -
Yay! Got my old 395 warrior back to working condition! Many thanks!