Introduction
This guide will take you through the steps of replacing the LED in your device.
Tools
-
-
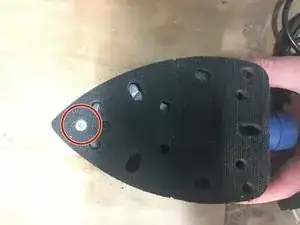
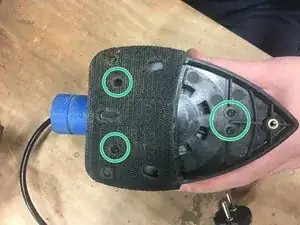
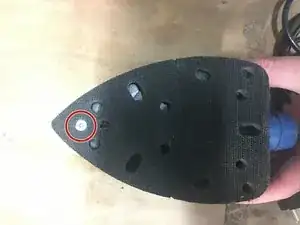
Unscrew the first screw of the pad.
-
Then unscrew the four remaining screws and pull up to remove it.
-
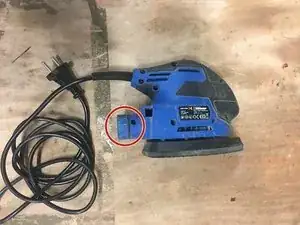
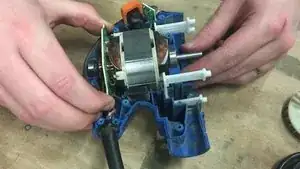
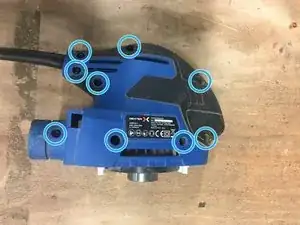
Finally remove the screws located on the hull of the device.
-
-
-
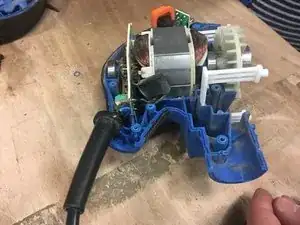
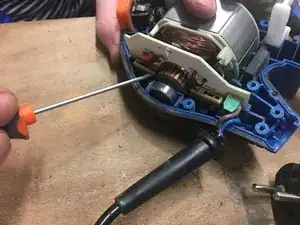
Wedge the two carbons to be able to take out the rotor. Reassemble them with a screwdriver, then with another screwdriver press the tab.
-
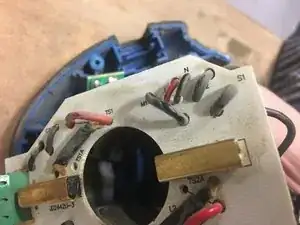
Lift the carbon and with the other tip of the screwdriver, twist the small leg.
-
Then remove the carbon.
-
-
-
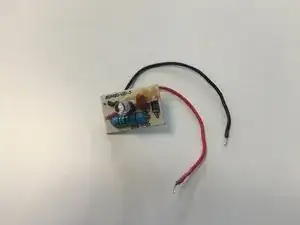
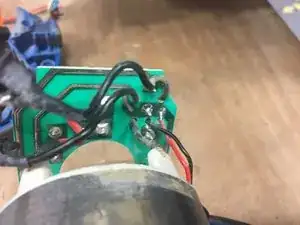
Resolder the new LED.
-
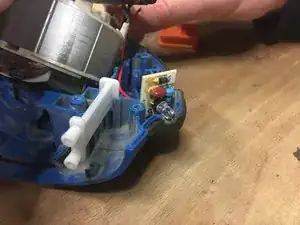
Then replace the LED in its housing, taking care to put the cables back in their path.
-
-
-
Replace the cable, the sheath must arrive between the two studs and the sleeve must be positioned in its housing.
-
Replace the shell of the sander, taking care to position the stabilizers correctly in their housings.
-
Finally remove the screws located on the hull of the device.
-
-
-
Replace the pad by positioning it perfectly in the tips.
-
Tighten the four screws.
-
Then the last screw. Finally put the gasket back in place.
-


By the end of the guide you will have successfully replaced the LED.
To reassemble preform the steps in reverse.