Introduction
Parts
-
-
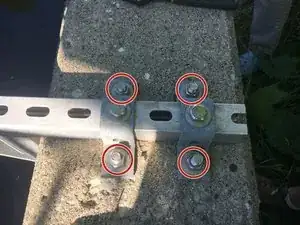
Using an adjustable or socket wrench, remove the four 3/4" nuts and washers from the U-brackets attaching the long strut channel to the bridge.
-
Note: You do not have to remove the two 3/4" hex head screws and washers attaching the U-brackets to the long strut channel.
-
-
-
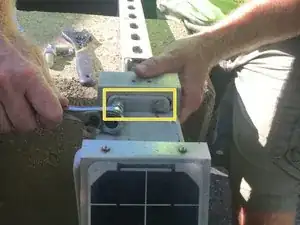
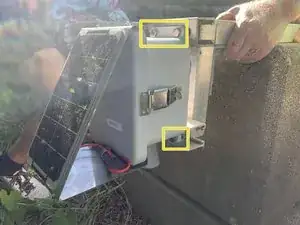
These are the two small strut channels attaching the node to the long strut channel.
-
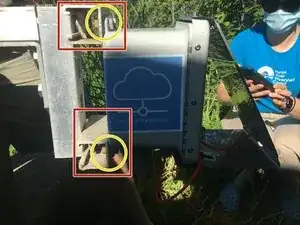
Using a 1/2" adjustable or socket wrench, remove the four 1/2" hex head screws attaching the old node to the small strut channels.
-
Be sure to remove the nuts and washers on the inside of the small strut channels as well. (Total: Four 1/2" hex head screws, four 1/2" nuts, and four washers)
-
-
-
This step will use the same 1/2" hex head screws, 1/2" nuts, and washers from the removal of the old depth sensor node.
-
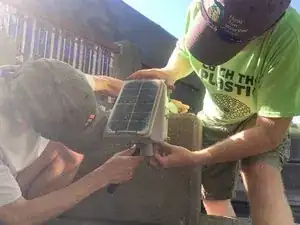
Using a 1/2" adjustable or socket wrench, attach the new depth sensor node to the small strut channels with four 1/2" hex head screws, 1/2" nuts, and washers. Tighten and secure.
-
-
-
This is what the bridge mount looks like before reattaching the long strut channel with the new depth sensor node.
-
Line up and place the U-brackets, still attached to the long strut channel, onto the bridge mount.
-
Using a 3/4" adjustable or socket wrench, secure the long strut channel and U-brackets to the bridge with the 3/4" nuts and washers. Tighten and secure.
-
-
-
Using a (weighted) tape measure, measure and record the distance from the bottom of the depth sensor node to the bottom of the river.
-
The bottom of the depth sensor node is defined as the bottom of the sensor cone.
-


To reassemble your device, follow these instructions in reverse order.