Introduction
This guide shows how to replace the rotor inside a Clarke Floor Buffer 01278A 2016.
You can use regular hand tools for removing fasteners, but using an impact driver will make the procedure easier.
-
-
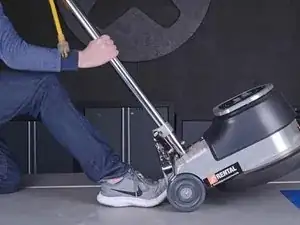
Brace the back of the floor buffer with your foot near the wheel axle and grasp the handle with both hands.
-
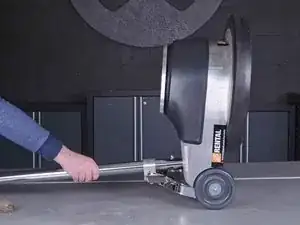
Slowly tilt the floor buffer back until the handle rests on your work surface.
-
-
-
Use a 3/16" hex key or driver bit to remove the four 18.6 mm-long screws securing the shield brush to the bottom of the floor buffer.
-
-
-
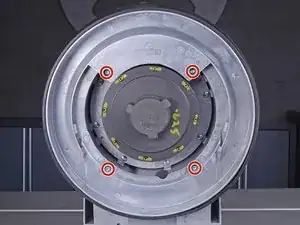
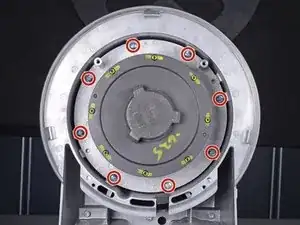
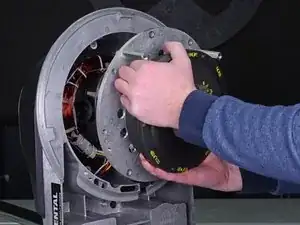
Remove the eight 23.1 mm-long Phillips #3 screws securing the gear unit assembly and rotor to the floor buffer's housing.
-
-
-
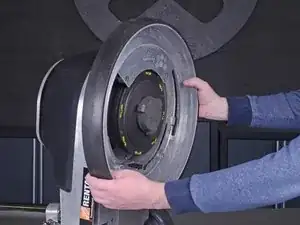
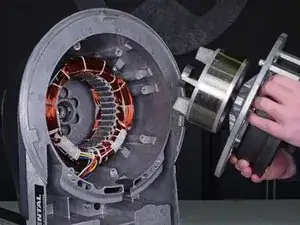
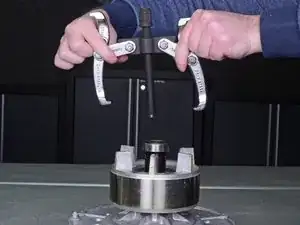
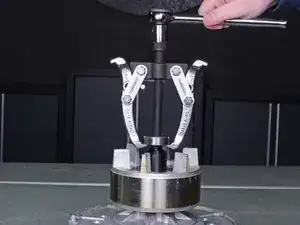
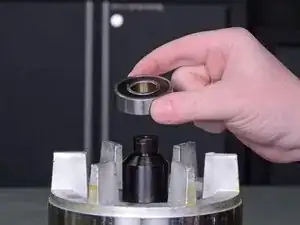
Rest the center threaded bolt of a gear puller on the center of the rotor's driveshaft.
-
Attach the legs of the gear puller to the outer bottom edges of the bearing, and tighten the bolt by hand until the gear puller is snug on the bearing.
-
-
-
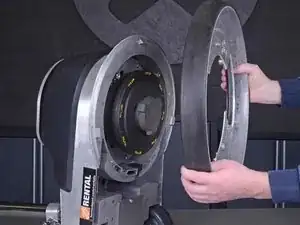
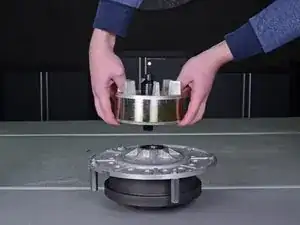
Use two pry bars and place the ends between the rotor and gear unit assembly as far toward the center as possible.
-
Apply force to both pry bars in opposite directions to disconnect the rotor from the gear unit assembly.
-
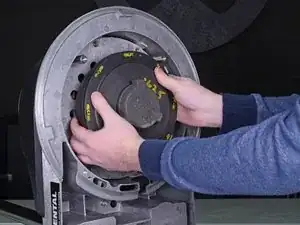
Remove the rotor from the gear unit assembly.
-


To reassemble your device, follow these instructions in reverse order.