Introduction
This guide will help you remove and replace the outside case of the Canon PowerShot SD700. Follow the step-by-step instructions to remove the outside case of your Canon PowerShot SD700. You will need Phillips #00 screwdriver to complete the steps throughout the guide.
Tools
-
-
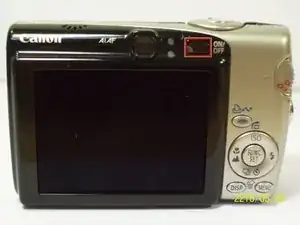
To Begin turn off the camera by pressing the power button above the LCD screen. Once that's done we can continue to the next step.
-
-
-
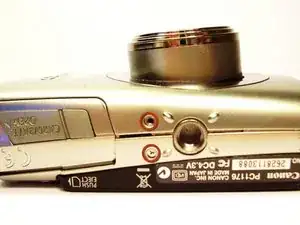
Remove the two, small screws on the bottom of the camera using a Phillip's #00 screwdriver. You will need to save these screws for later. So be sure to set them aside.
-
-
-
You must use a #00 screwdriver for this step. You can order one online at the ifixit Phillips #00 Screwdriver
-
-
-
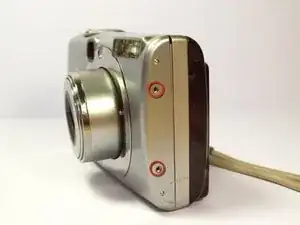
Use a Phillips #00 screwdriver to remove the two, small screws on the right side of the camera. Again be sure to set these aside for later.
-
-
-
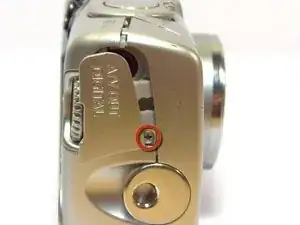
Use a Phillips #00 screwdriver to remove the screw on the left of the camera under the A/V out Digital label.
-
-
-
Use a Phillips #00 screwdriver, remove the screw on the bottom of the camera near the battery and memory card slots.
-


To reassemble your device, follow steps 1-6 instructions in reverse order.