
Introduction
If you experience the E18 error, go to this site and try their solutions.
If you still experience the error, you can follow this guide to disassemble the camera and manually clean the inside of the camera and the lens.
-
-
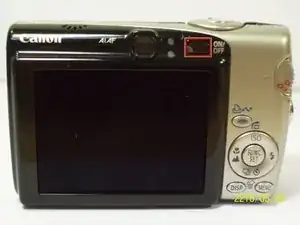
To Begin turn off the camera by pressing the power button above the LCD screen. Once that's done we can continue to the next step.
-
-
-
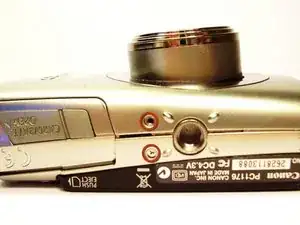
Remove the two, small screws on the bottom of the camera using a Phillip's #00 screwdriver. You will need to save these screws for later. So be sure to set them aside.
-
-
-
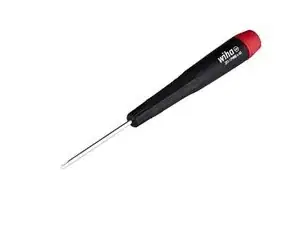
You must use a #00 screwdriver for this step. You can order one online at the ifixit Phillips #00 Screwdriver
-
-
-
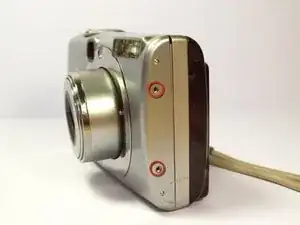
Use a Phillips #00 screwdriver to remove the two, small screws on the right side of the camera. Again be sure to set these aside for later.
-
-
-
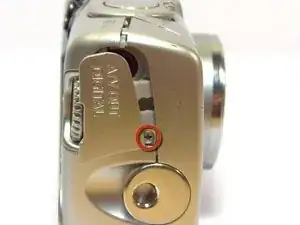
Use a Phillips #00 screwdriver to remove the screw on the left of the camera under the A/V out Digital label.
-
-
-
Use a Phillips #00 screwdriver, remove the screw on the bottom of the camera near the battery and memory card slots.
-


To reassemble your device, follow steps 1-6 instructions in reverse order.