Introduction
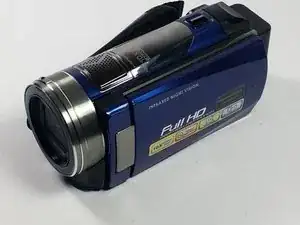
In this guide, the goal is to show how to take apart a Bell and Howell DNV16HDZ camcorder in order to replace parts such as the front LED. This would be helpful in the case of a damaged or malfunctioning LED in the camcorder. In this repair guide every screw was taken out using the Philips head #0 driver which is quite small. Also every screw taken out is the same uniform size (2mm) which is quite convenient.
-
-
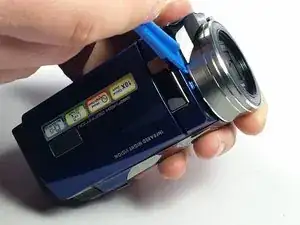
Use a plastic opening tool to disconnect the internal hinges that snaps the camera into place.
-
-
-
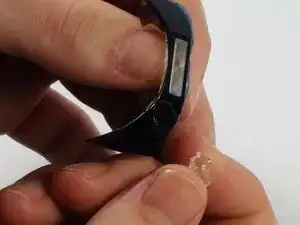
It will still be connected by a plastic film. This can also be disconnected by pulling up the white part where it connects to the light circuit board.
-
-
-
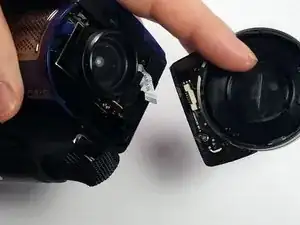
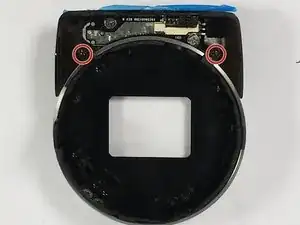
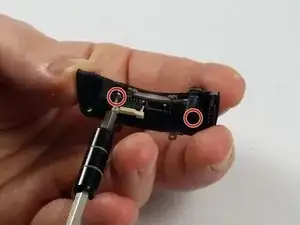
The two 30 mm Phillips #0 screws left can be removed to gain access to the circuit board along with the LED.
-
From here we can pop out the LED using the wedge or your fingers if you can manage it.
-


To reassemble your device, follow these instructions in reverse order.