Introduction
This guide is meant to be used for the 2007 Hummer H3.
Keep in mind that there may be discrepancies if you use this guide for a different model year.
In this guide, there are two wires to disconnect. To prevent injury/harm, it is recommended that the vehicle be switched off, followed by disconnecting the battery.
Tools
Parts
-
-
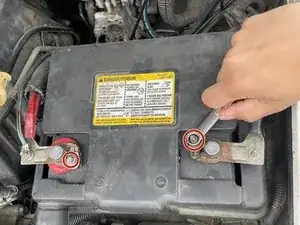
Use your 10-millimeter wrench to remove the hex nuts on the negative terminal. (Image 1)
-
Once the negative terminal's hex nut is removed, we can tuck the negative terminal and cable beside the battery. (Image 2)
-
Repeat these two steps for the positive terminal.
-
-
-
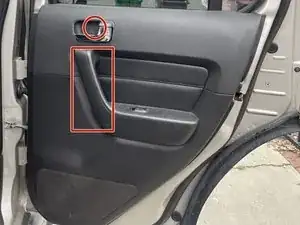
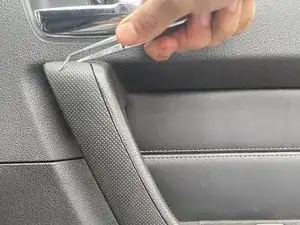
Shimmy the prybar along the outlined area until you feel a slight detachment from the door panel. (Image 1)
-
Grab the door panel and pull the bottom portion towards yourself slightly. (Image 2)
-
With the panel pulled slightly towards you, you can lift it, releasing it from the frame. (Image 3)
-
-
-
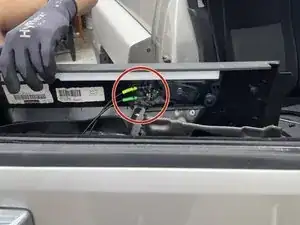
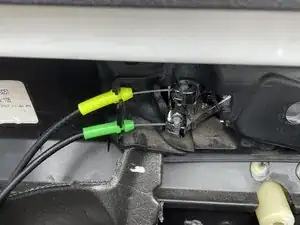
Locate the two metal cables used for the handle and locking mechanism attached to the ball sockets behind the door panel. (Image 1)
-
Rotate the yellow cable 90 degrees counterclockwise and lift the cable from the ball socket. Repeat for the green cable. (Image 2)
-
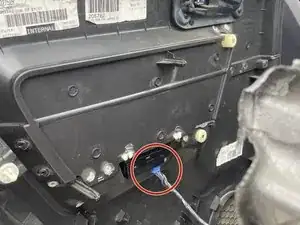
With both cables removed from the panel, we can now remove the Blue electrical cable.
-
Press on the clip of the blue cable and gently unplug. (Image 3)
-
-
-
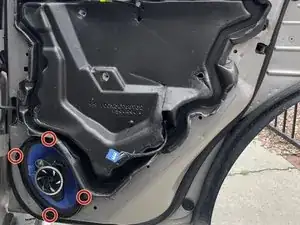
Locate the four fasteners that hold the speaker in place. (Image 1)
-
Use the Phillips Head Screwdriver size PH2 to remove the four fasteners (Image 2)
-
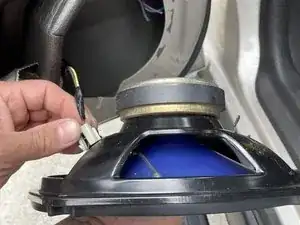
With the fasteners removed, we can gently pull the speaker out, which will reveal the final cable.
-
Locate the clip on the cable connected to the speaker and gently unplug it. (Image 3)
-
To reassemble your device, follow these instructions in reverse order.
