Introduction
-
-
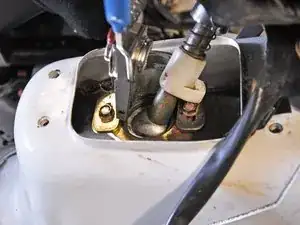
Lift the bottom of the shift boot to expose the shifting socket.
-
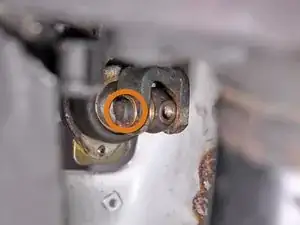
Use snap ring pliers to remove the circlip securing the shifter to its socket.
-
-
-
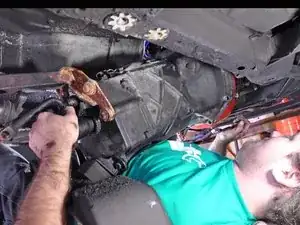
Remove the set screw securing the shifter yoke pin. This assembly can be located on the underside of the car, above the transmission and directly below the shift lever.
-
Grab the head of the shifter yoke pin with your hands or pliers and pull it out.
-
-
-
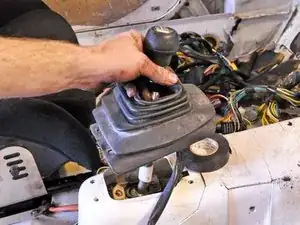
Remove the shift lever by pulling it straight up.
-
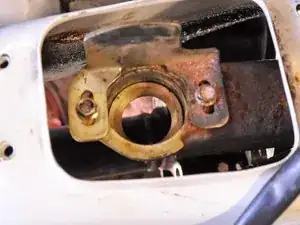
Remove the plastic bushing in the bottom of the shifter socket.
-
-
-
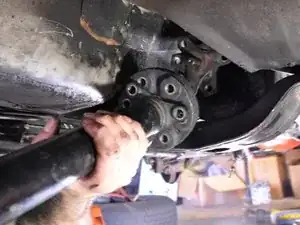
Remove the 6 nuts and bolts securing the drive shaft to the guibo and the back side of the transmission.
-
-
-
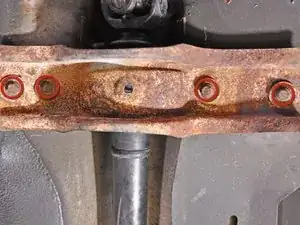
Remove the 4 bolts securing the drive shaft support.
-
Slowly lower the drive shaft and separate it from the transmission.
-
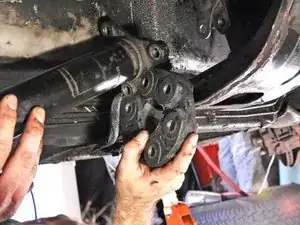
Remove the guibo and metal separator plate.
-
-
-
Remove the bolts securing the transmission to the engine and to the starter.
-
Generally, a jack is recommended for this.
-
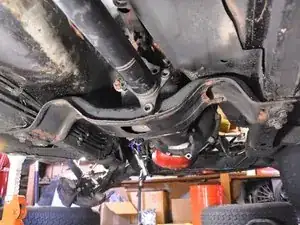
Remove the four bolts securing the transmission support to the chassis.
-
Lower the transmission out of the car.
-
In many instances, the transmission may not come free from the engine once the bolts are removed. If this is the case, a pry bar is recommended to help separate the two.
-


To reassemble your device, follow these instructions in reverse order.